Connect Vibe Seller to WorkBuddy
Once it's connected, you can ask WorkBuddy to create Vibe Seller tasks, follow their progress and answer their questions.
Two things to get ready first:
- An API key — see First: create an API key. Right after you create it, the dialog shows your server address and a ready-made WorkBuddy config;
- WorkBuddy itself, installed from workbuddy.cn (China) or workbuddy.ai (international).
Connect
-
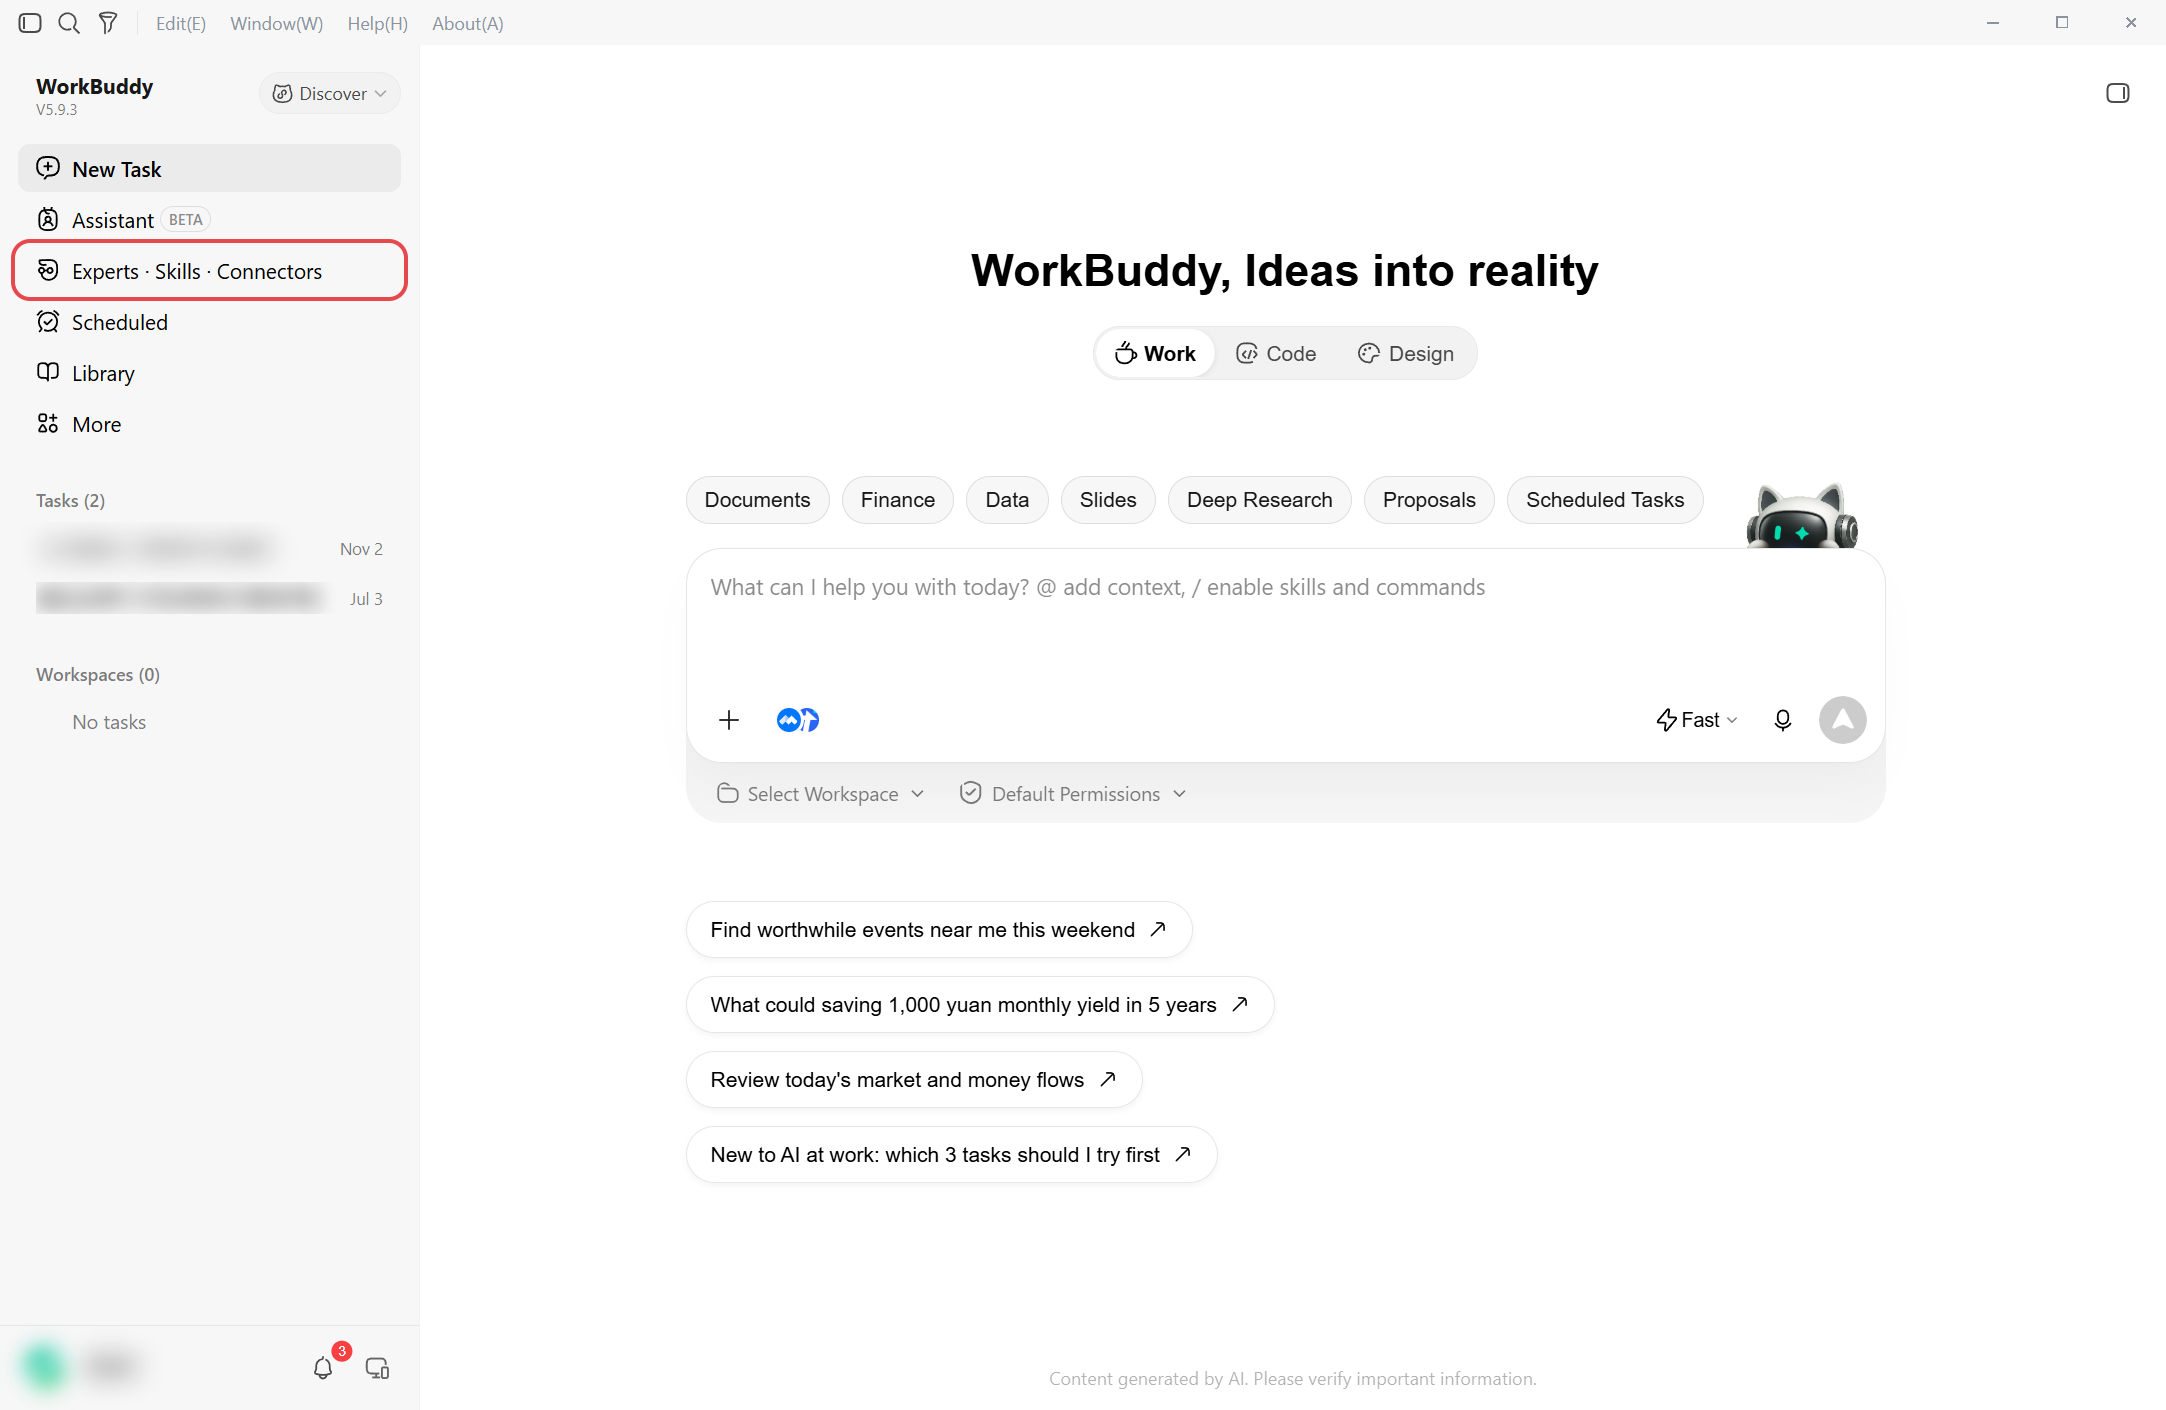
Open Experts · Skills · Connectors in the left column and switch to the Connectors tab.
-
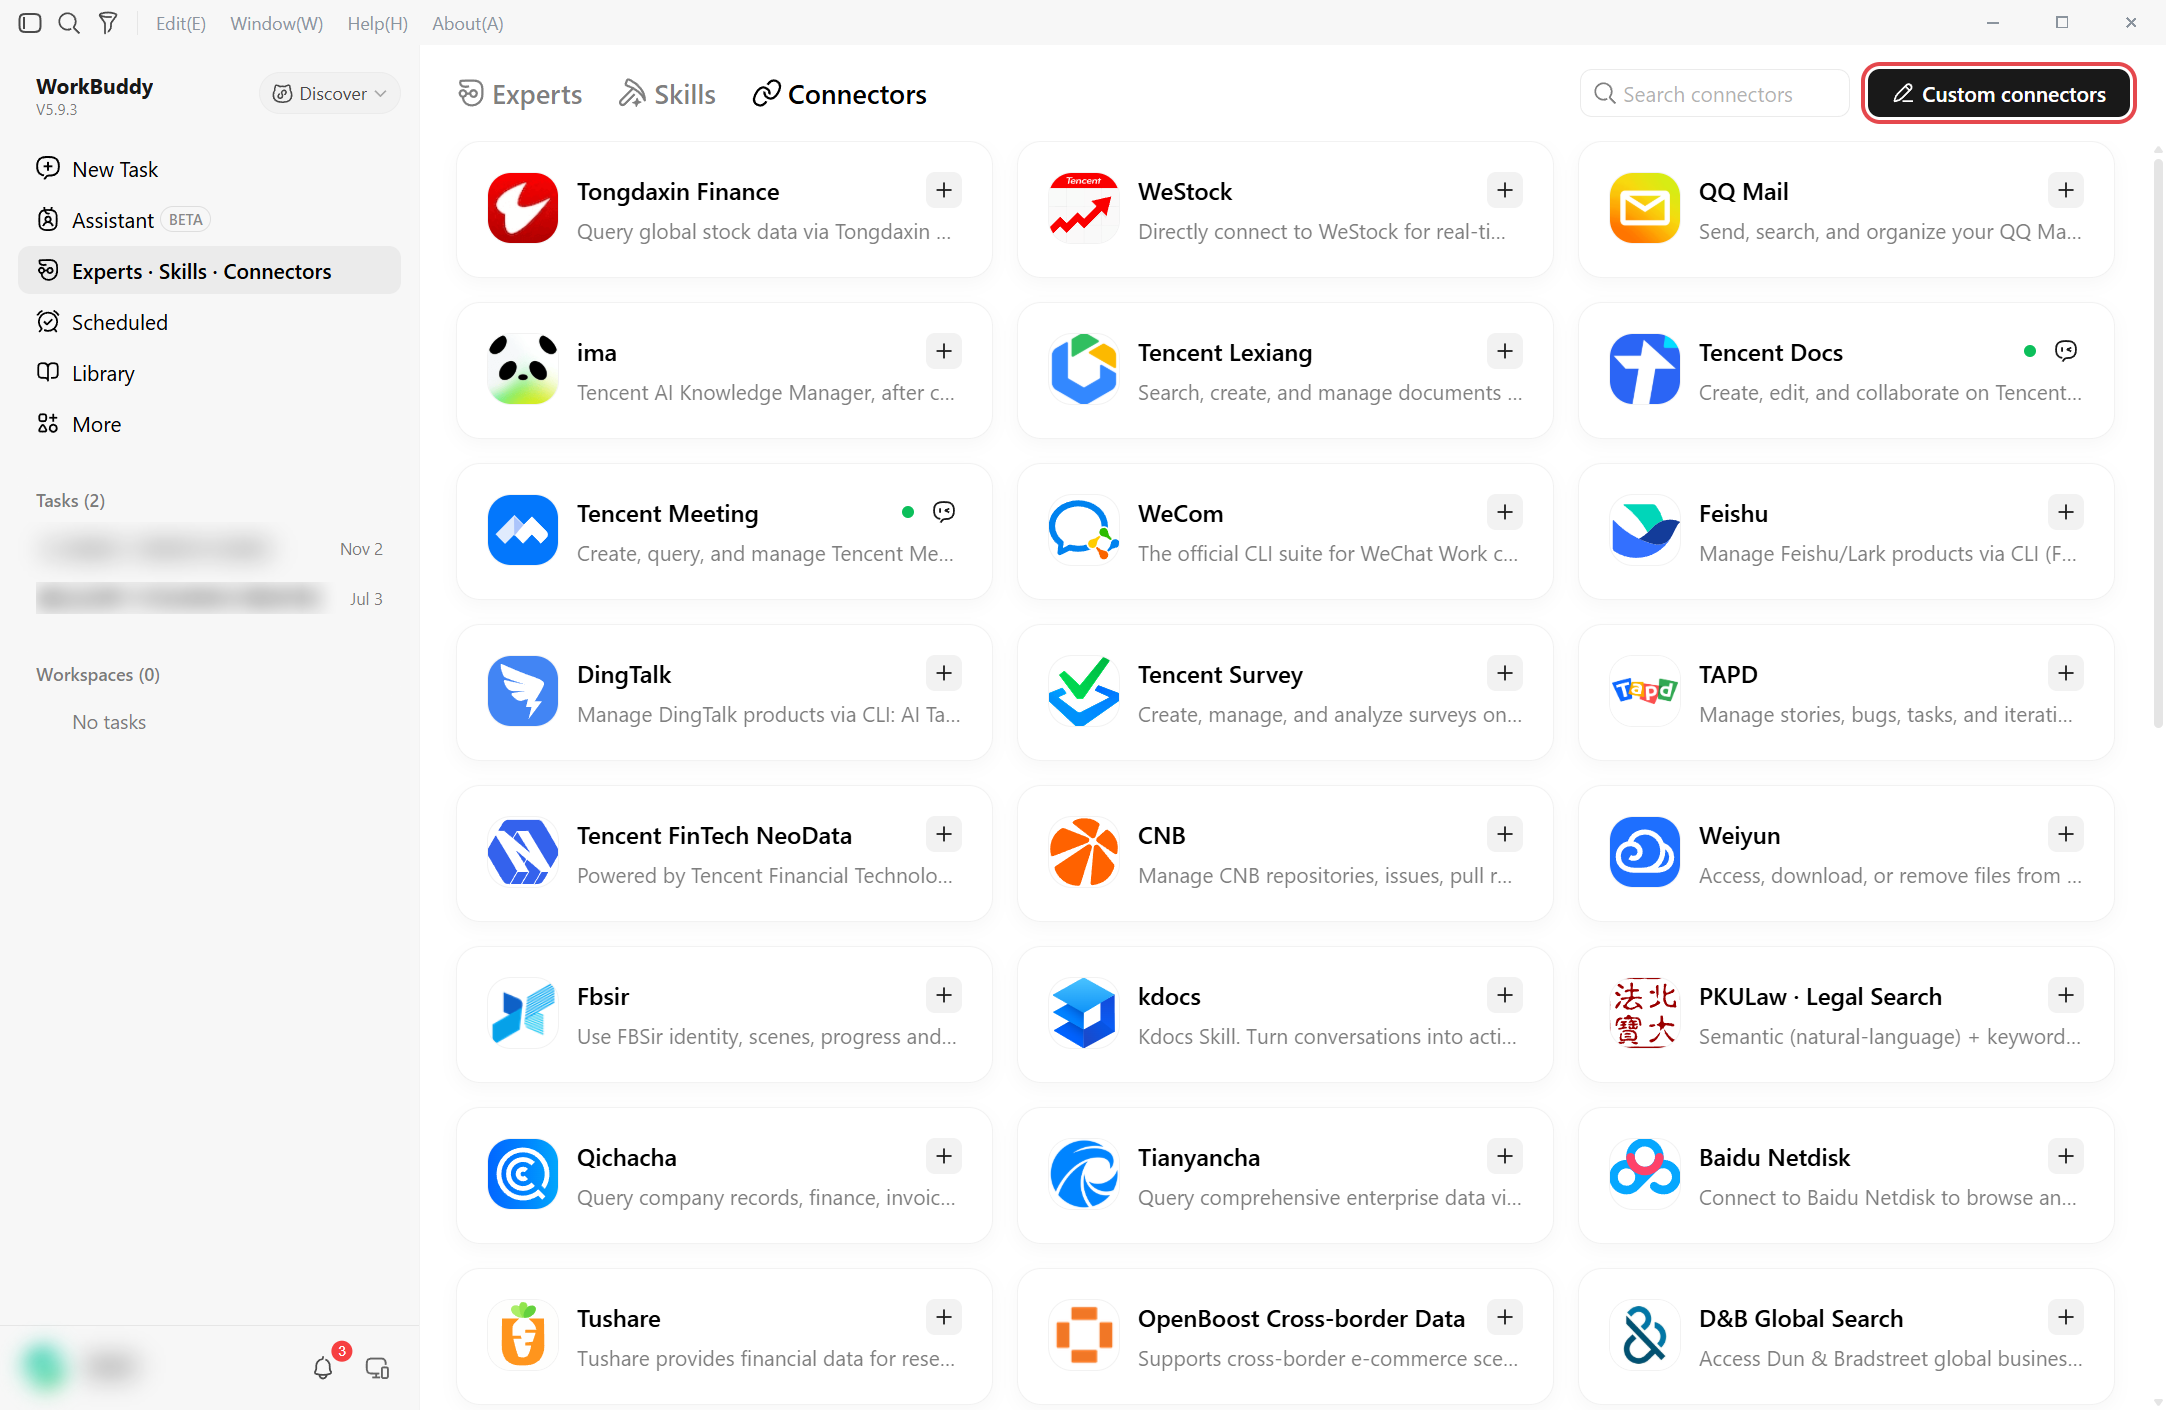
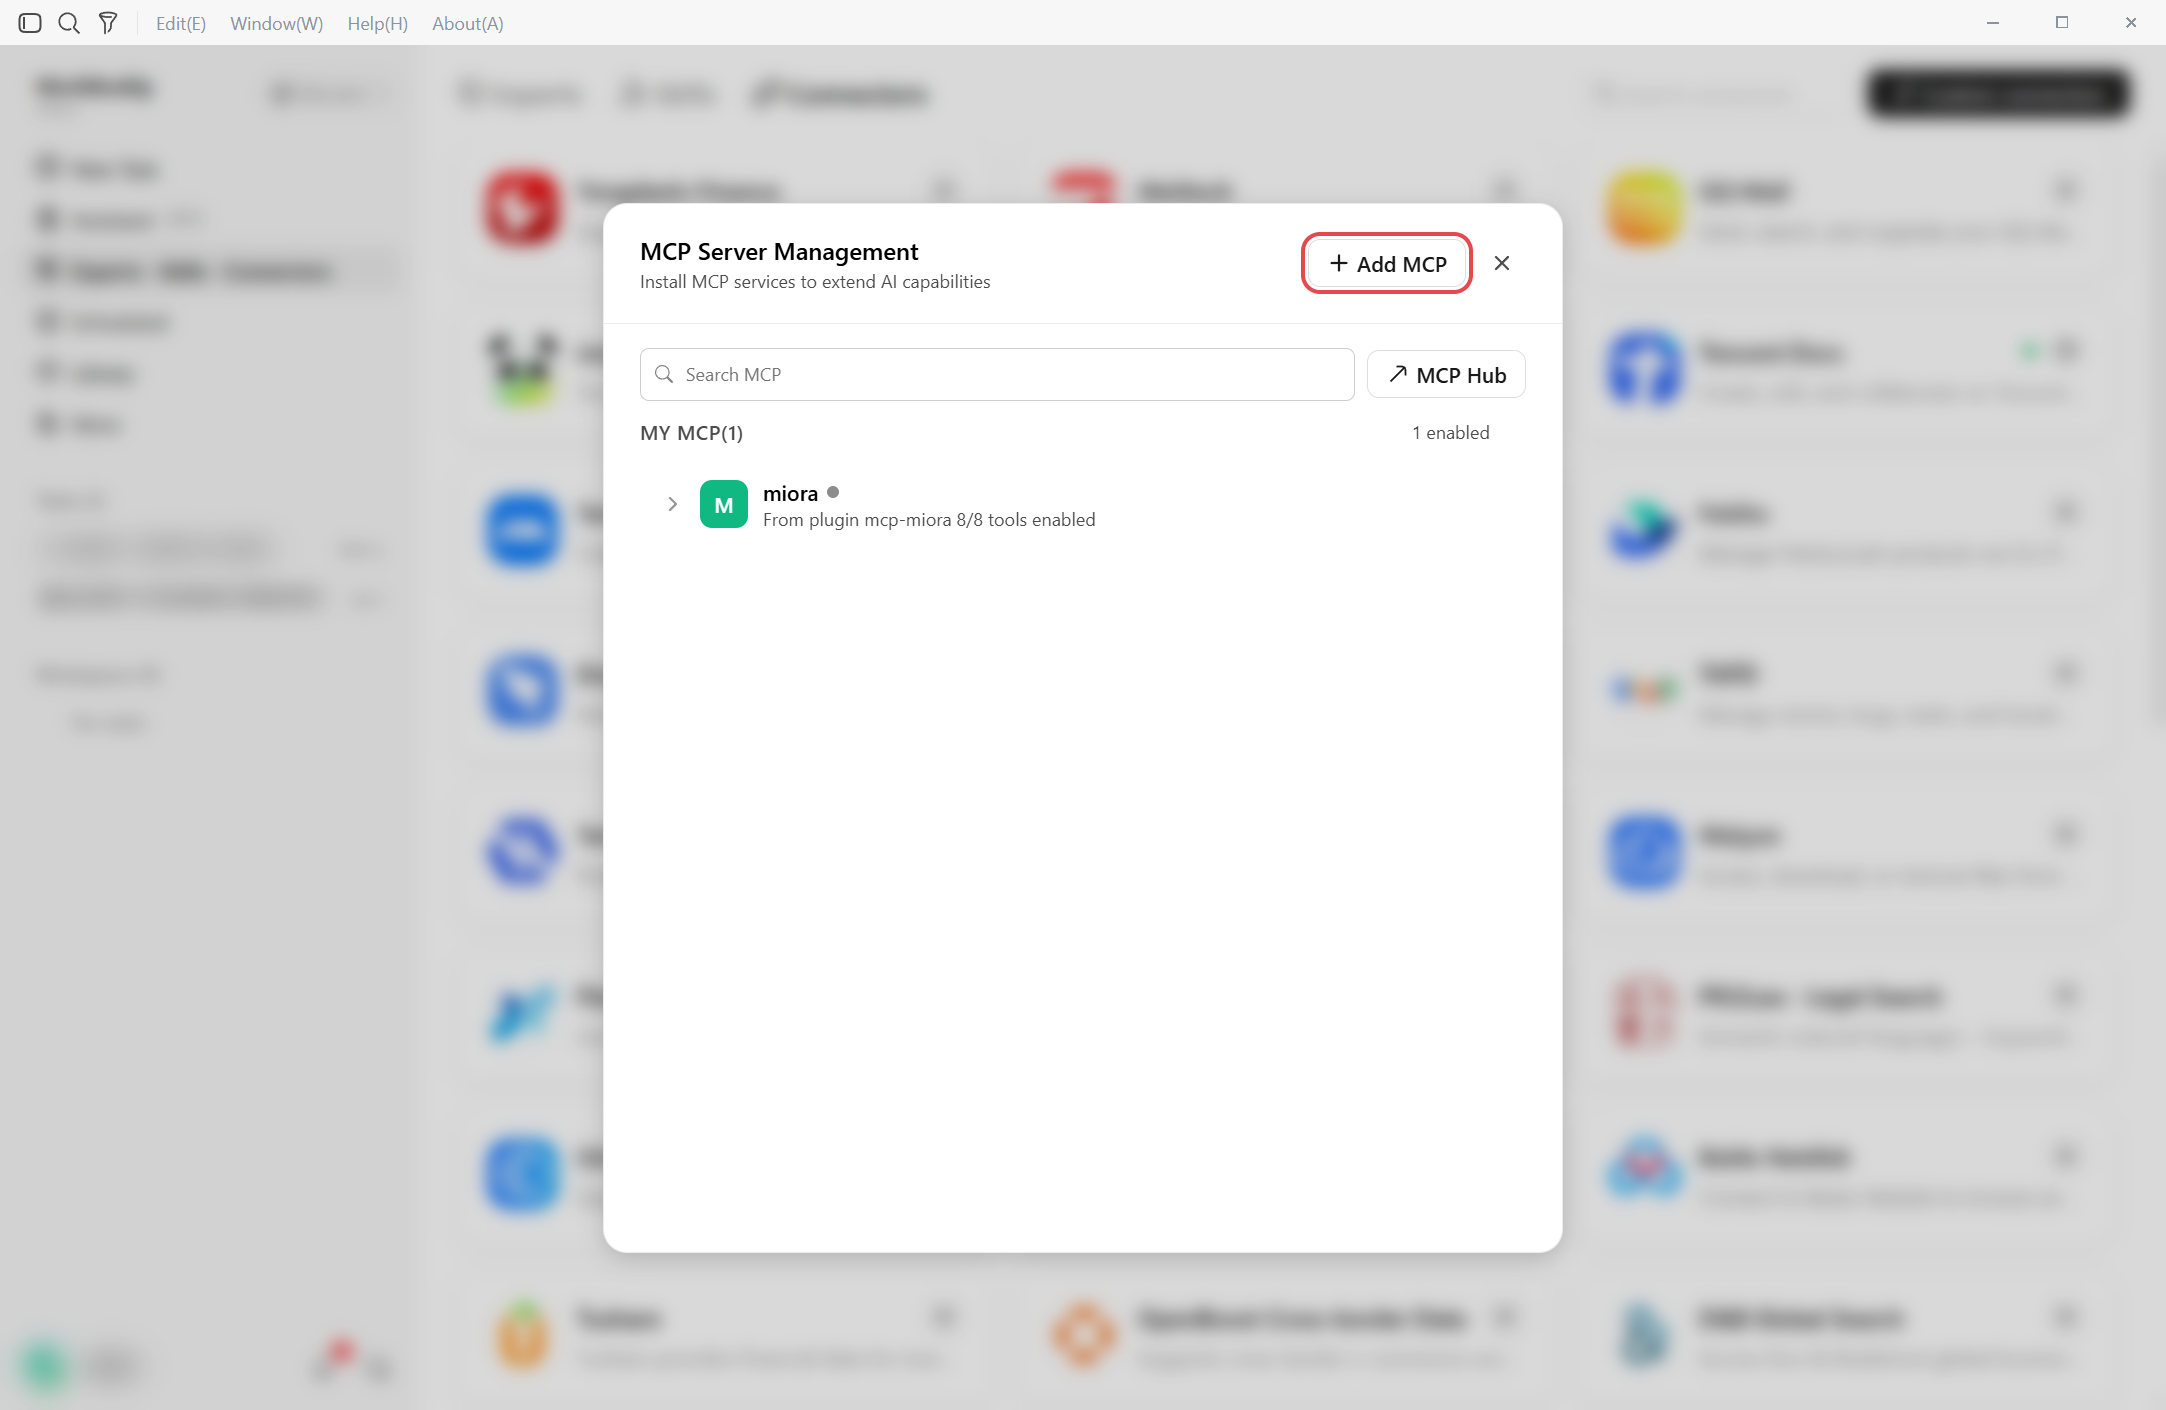
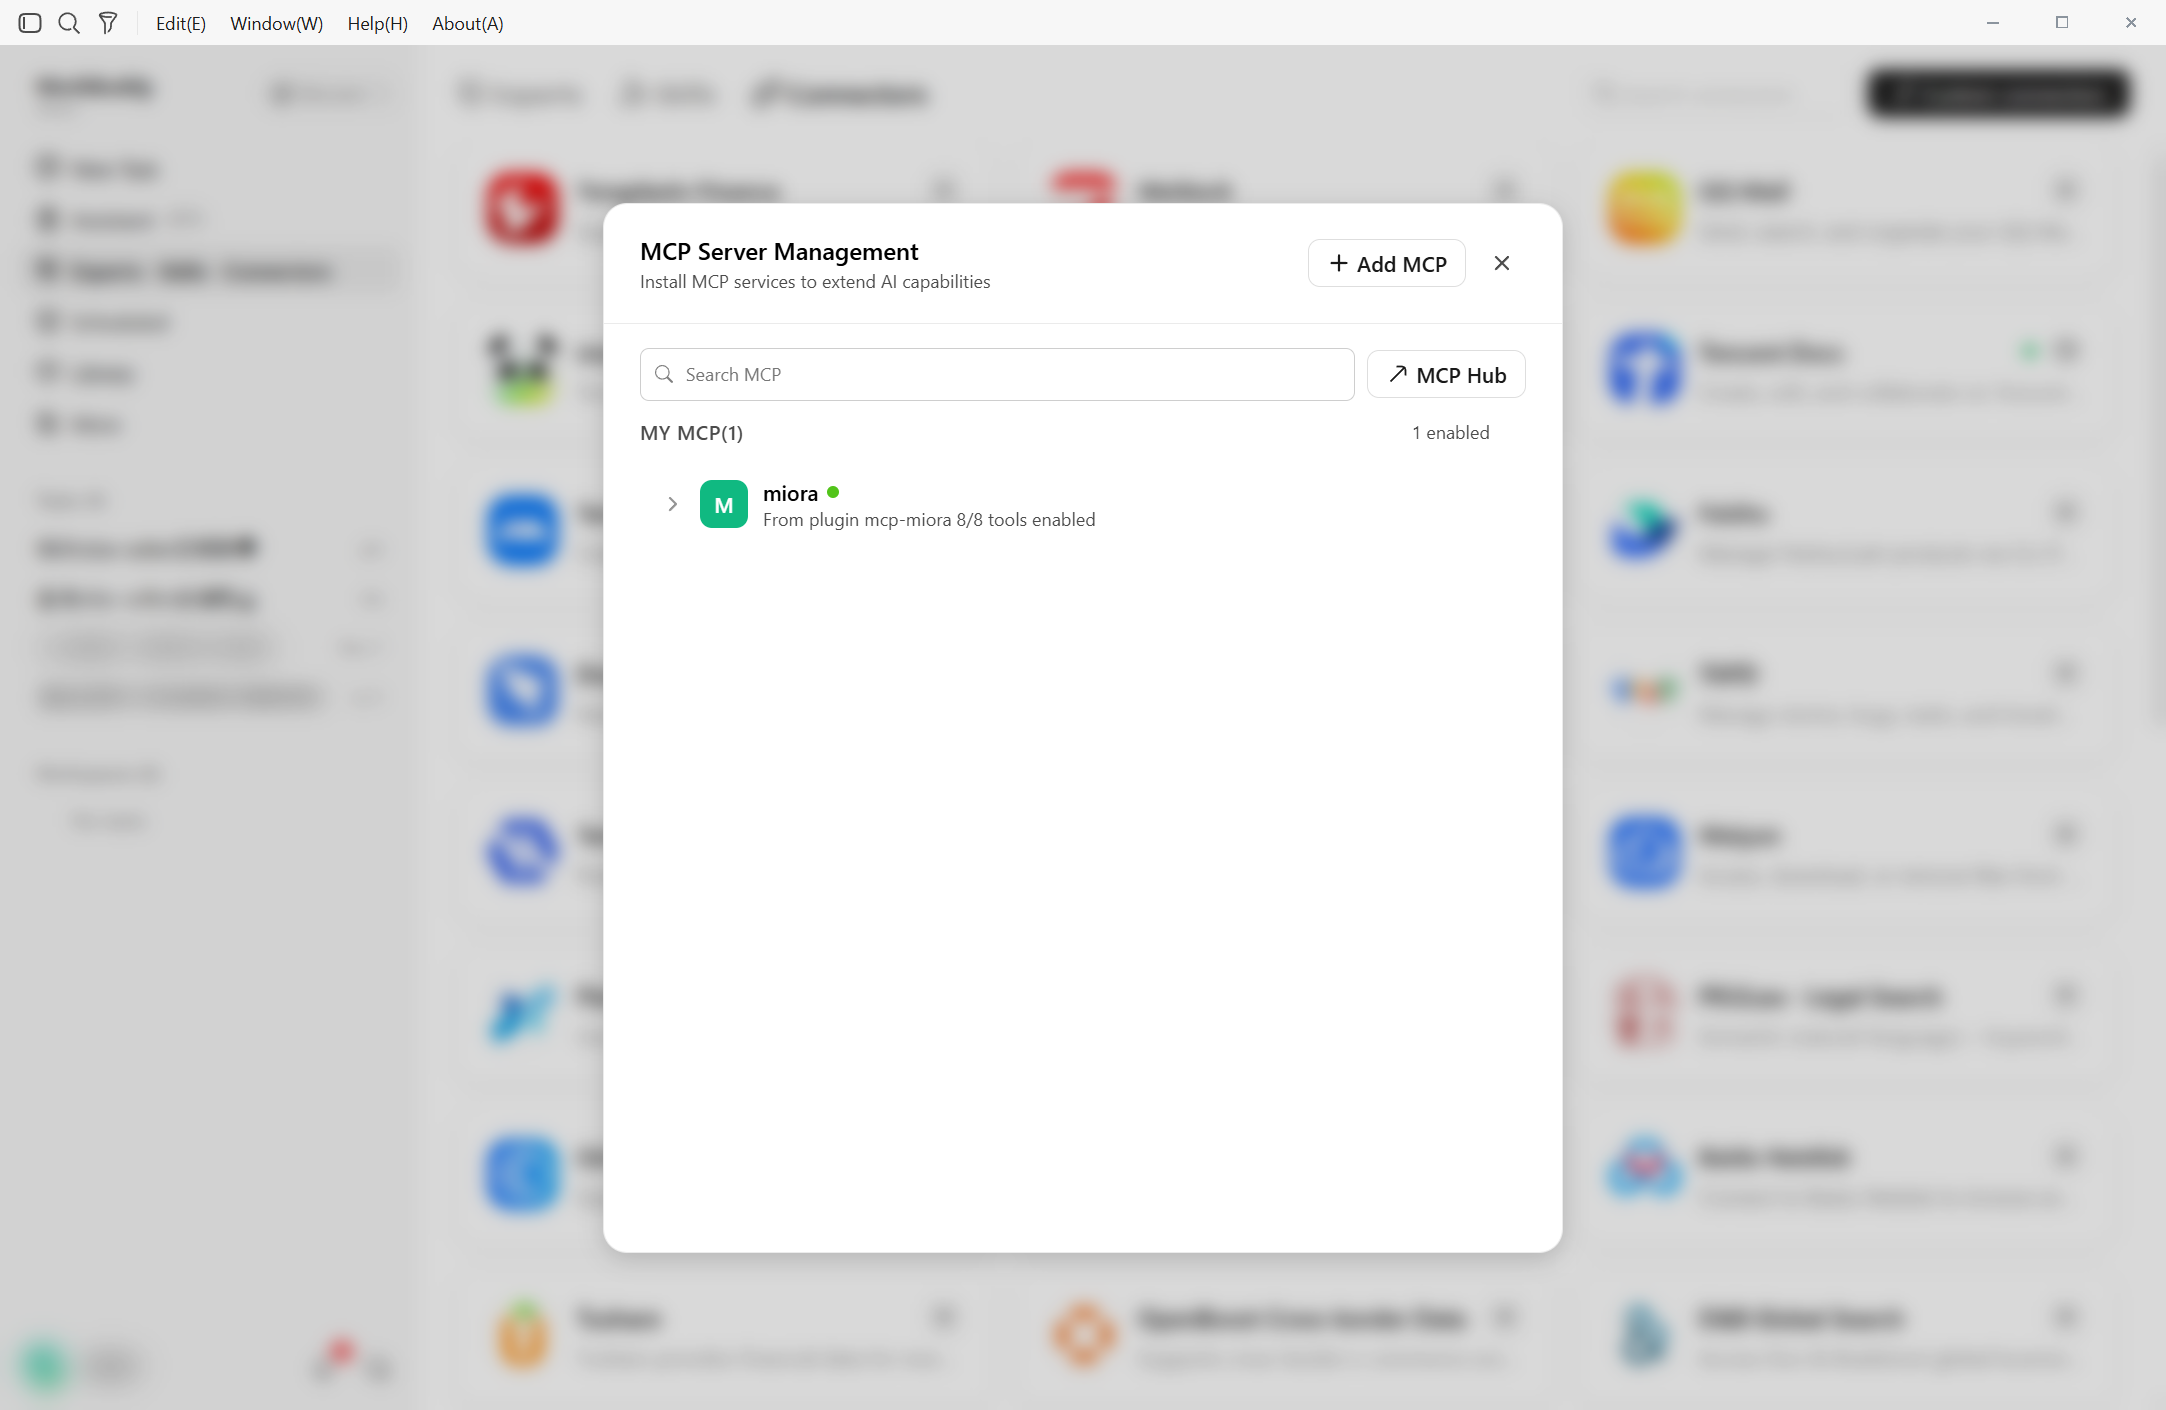
In the Custom connectors area, click + Add MCP under MCP Server Management to open the editor.
-
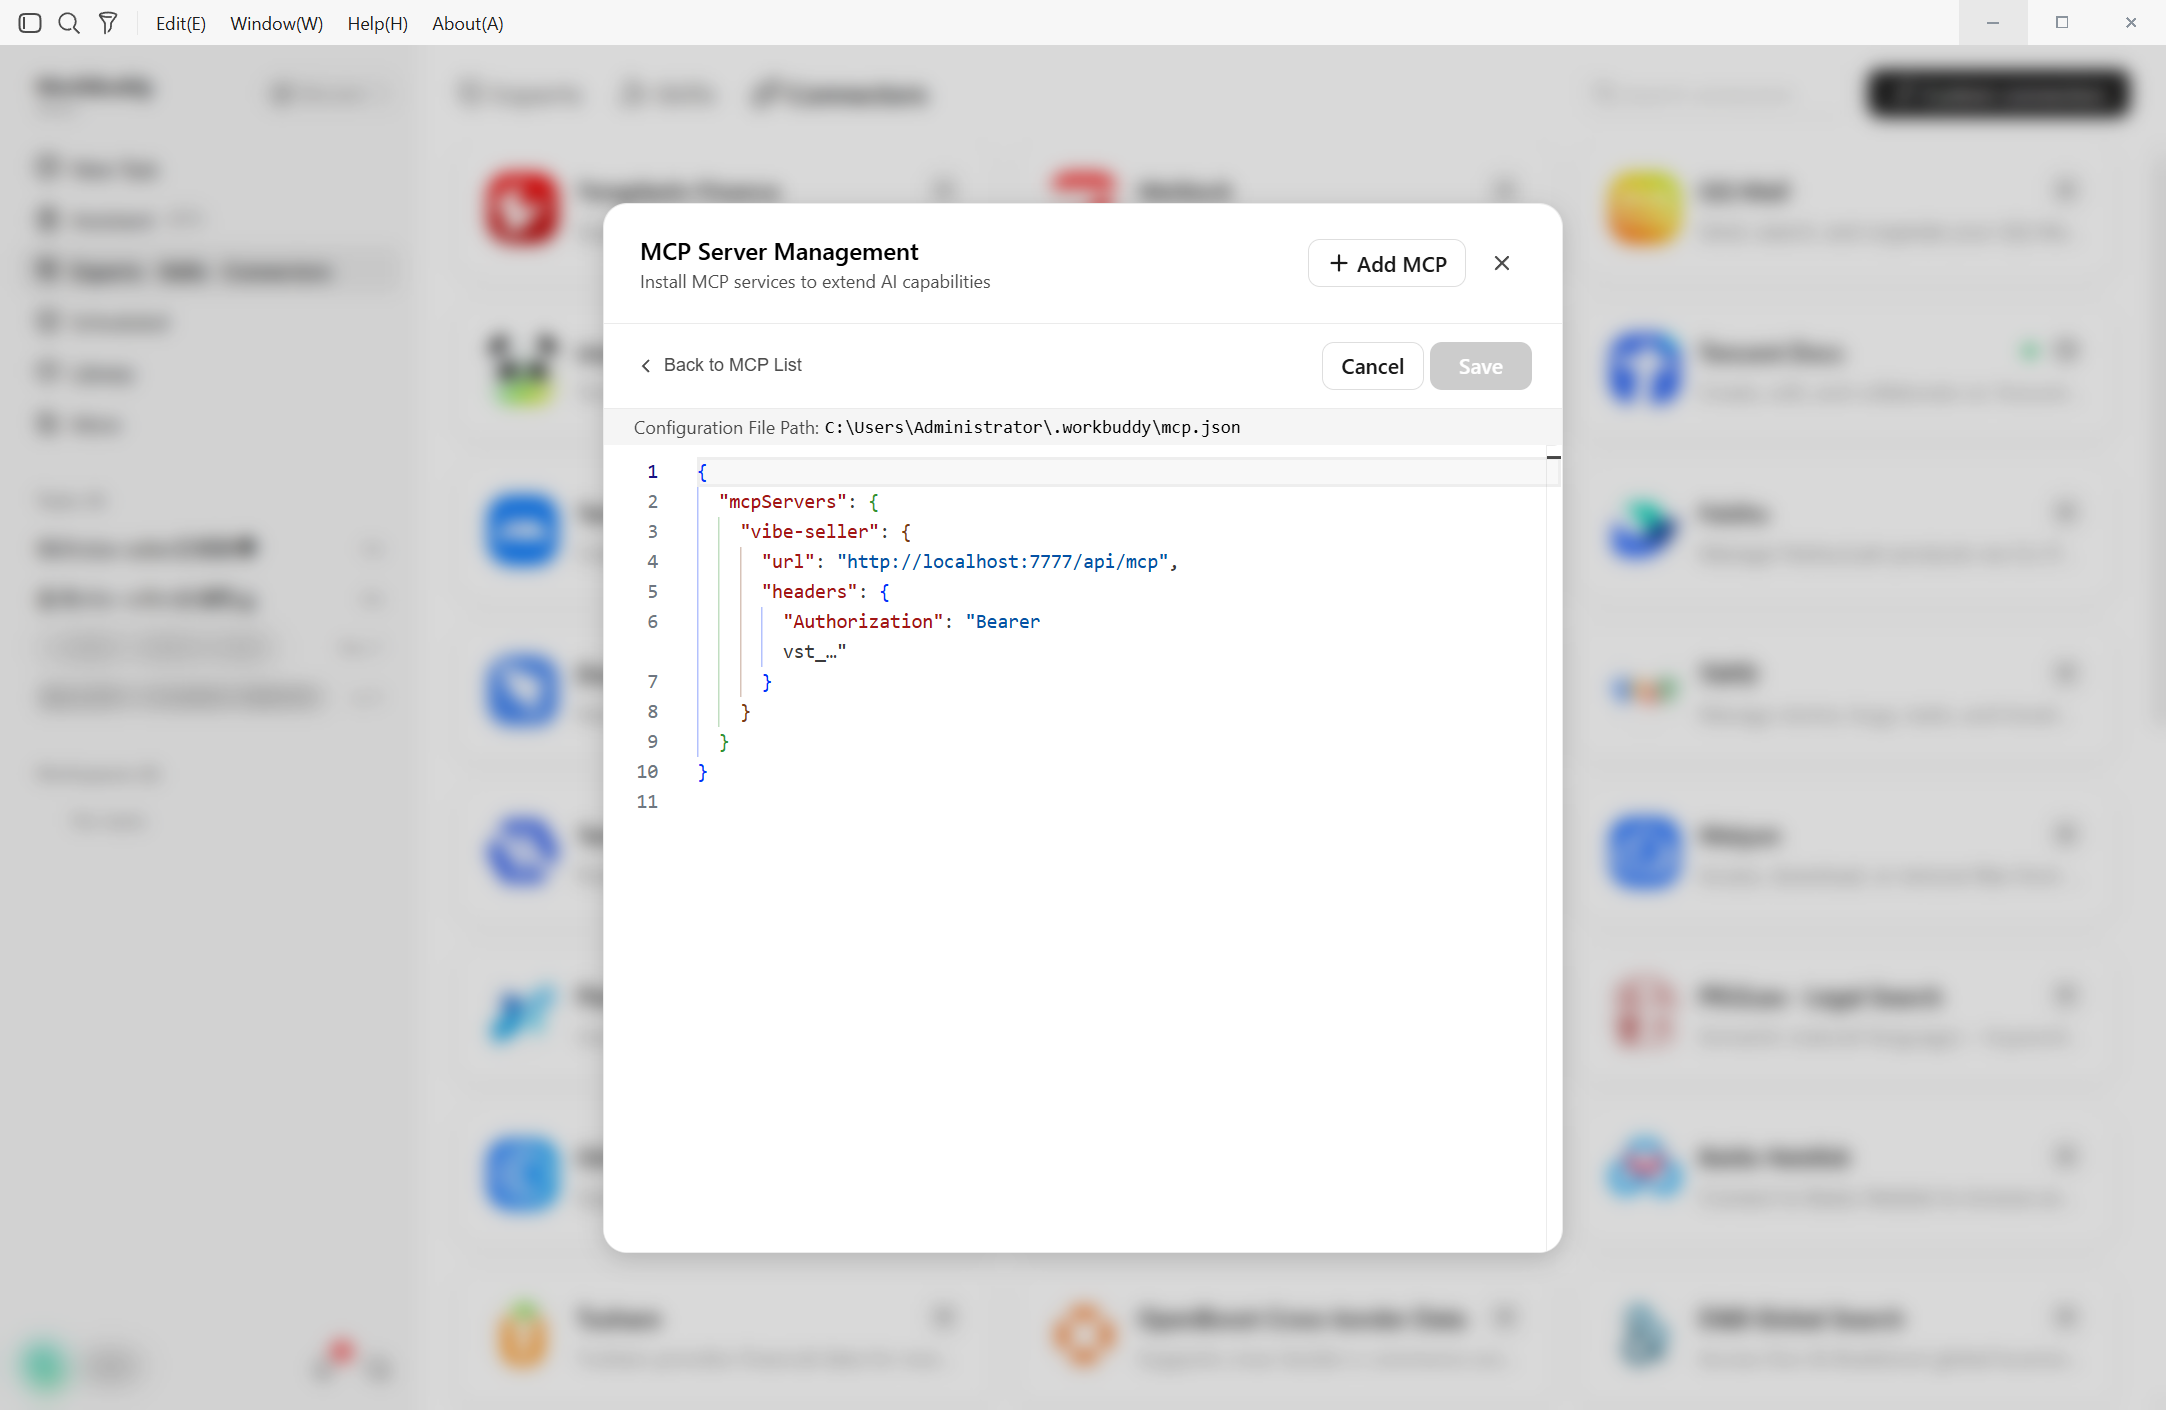
Copy the JSON from the dialog's In the app tab, paste it into the editor and click Save. The editor starts with an empty
{"mcpServers": {}}, soCtrl+AthenCtrl+Vworks.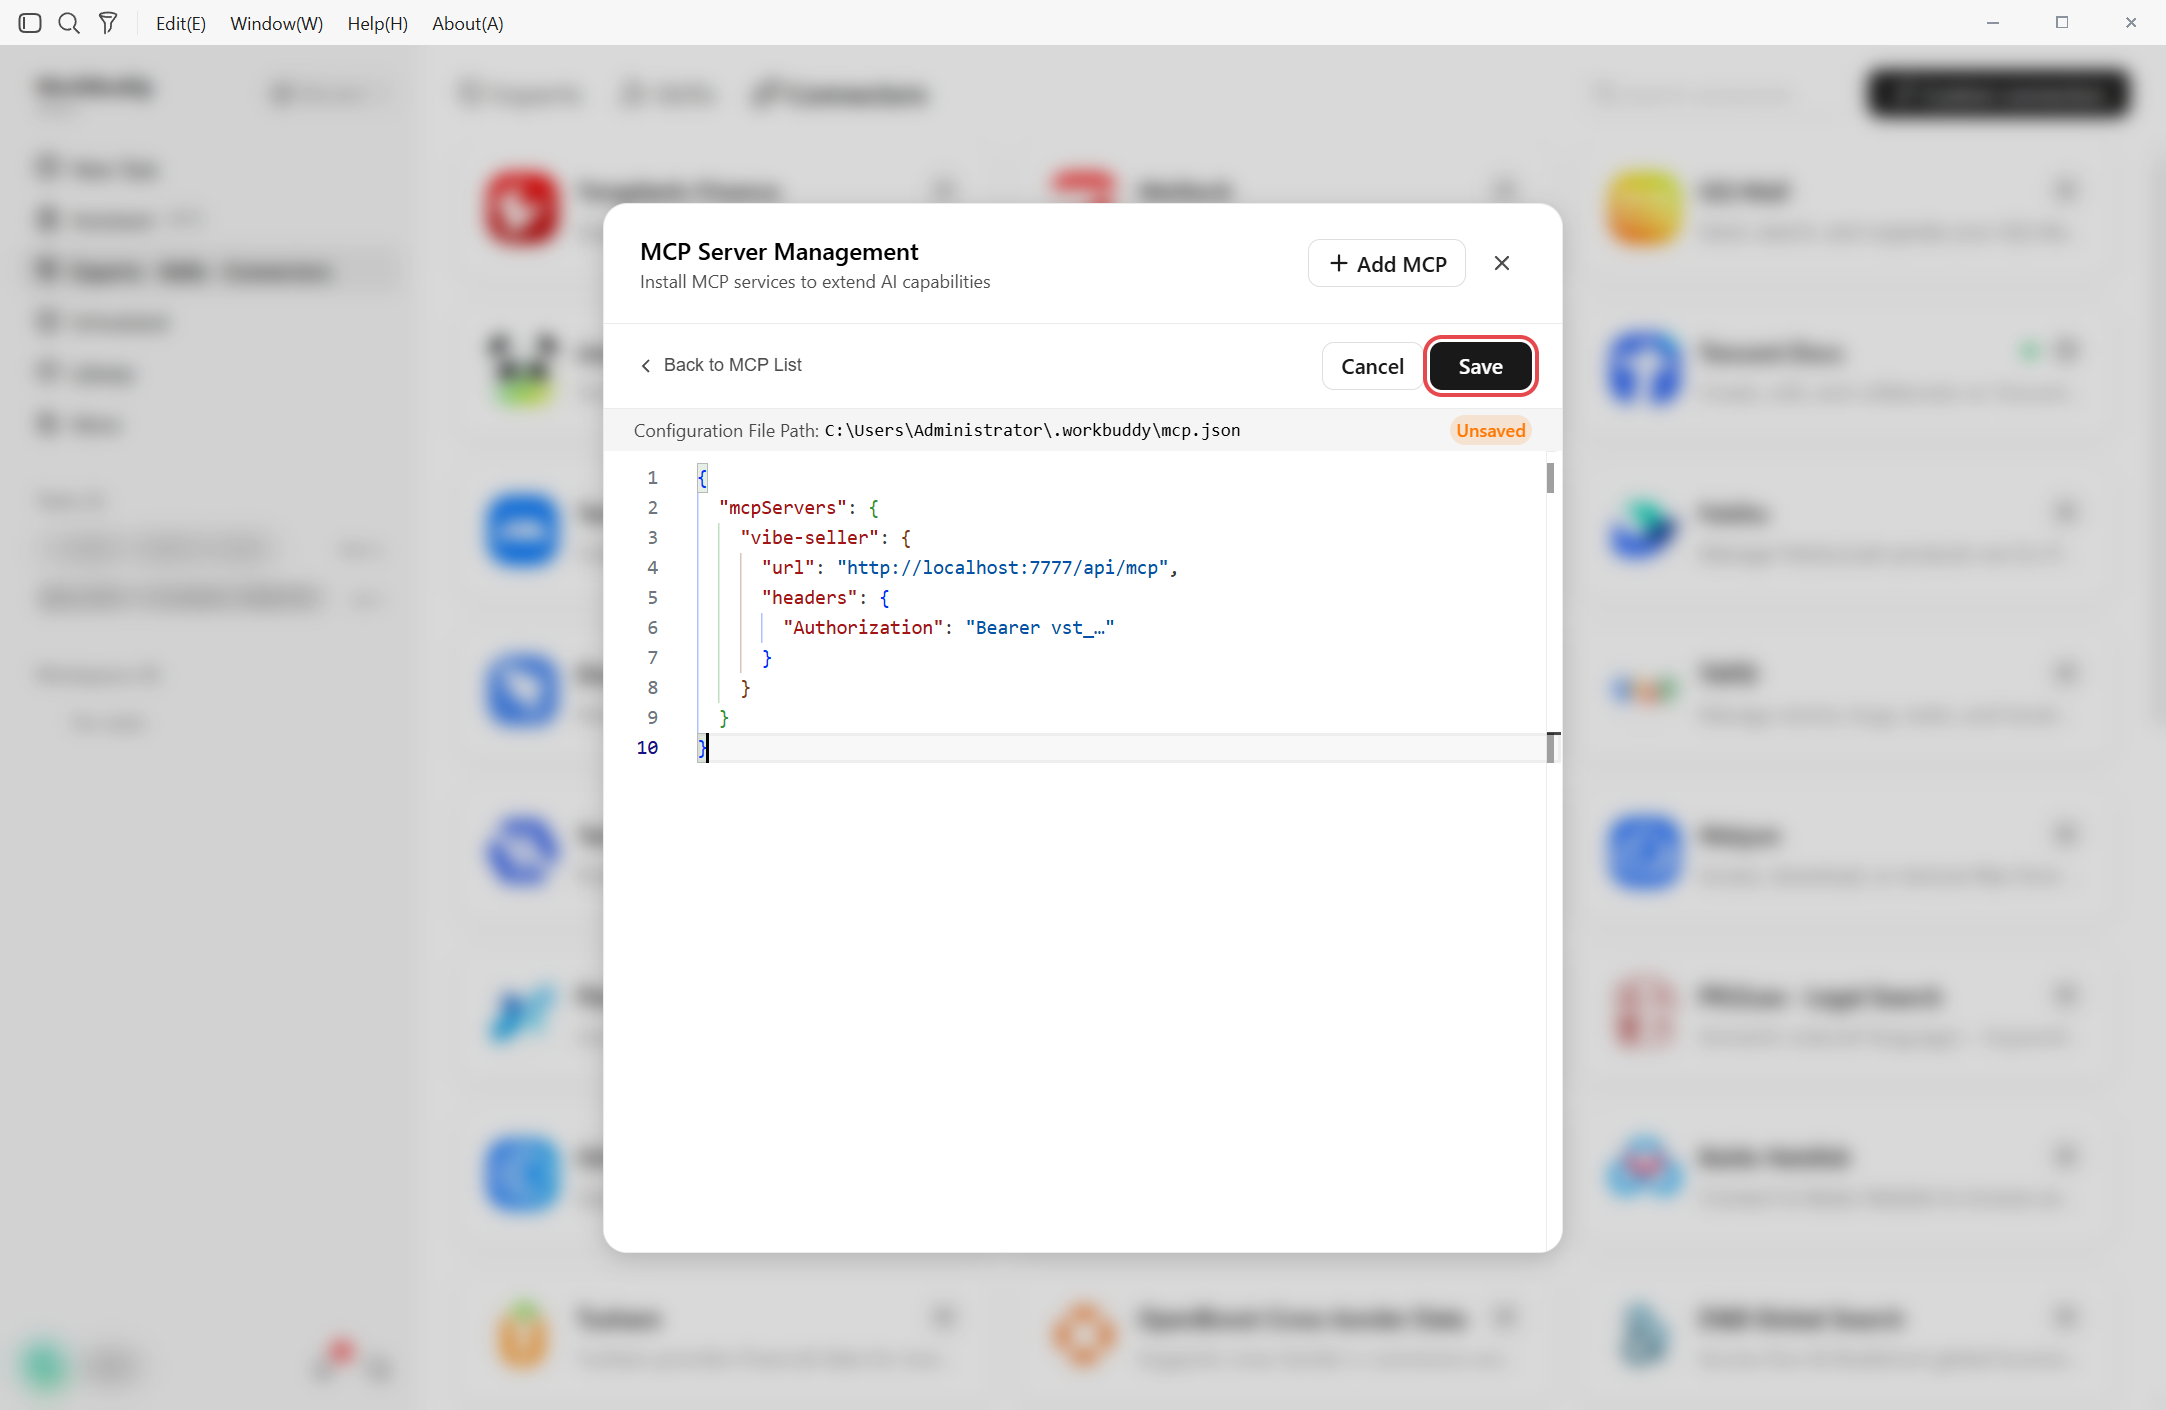
If the editor already lists other servers, don't select-all-replace
Selecting all and replacing would delete those servers too. Add just the
"vibe-seller": {…}entry inside themcpServersbraces, then save. -
Back in the list, click Trust on
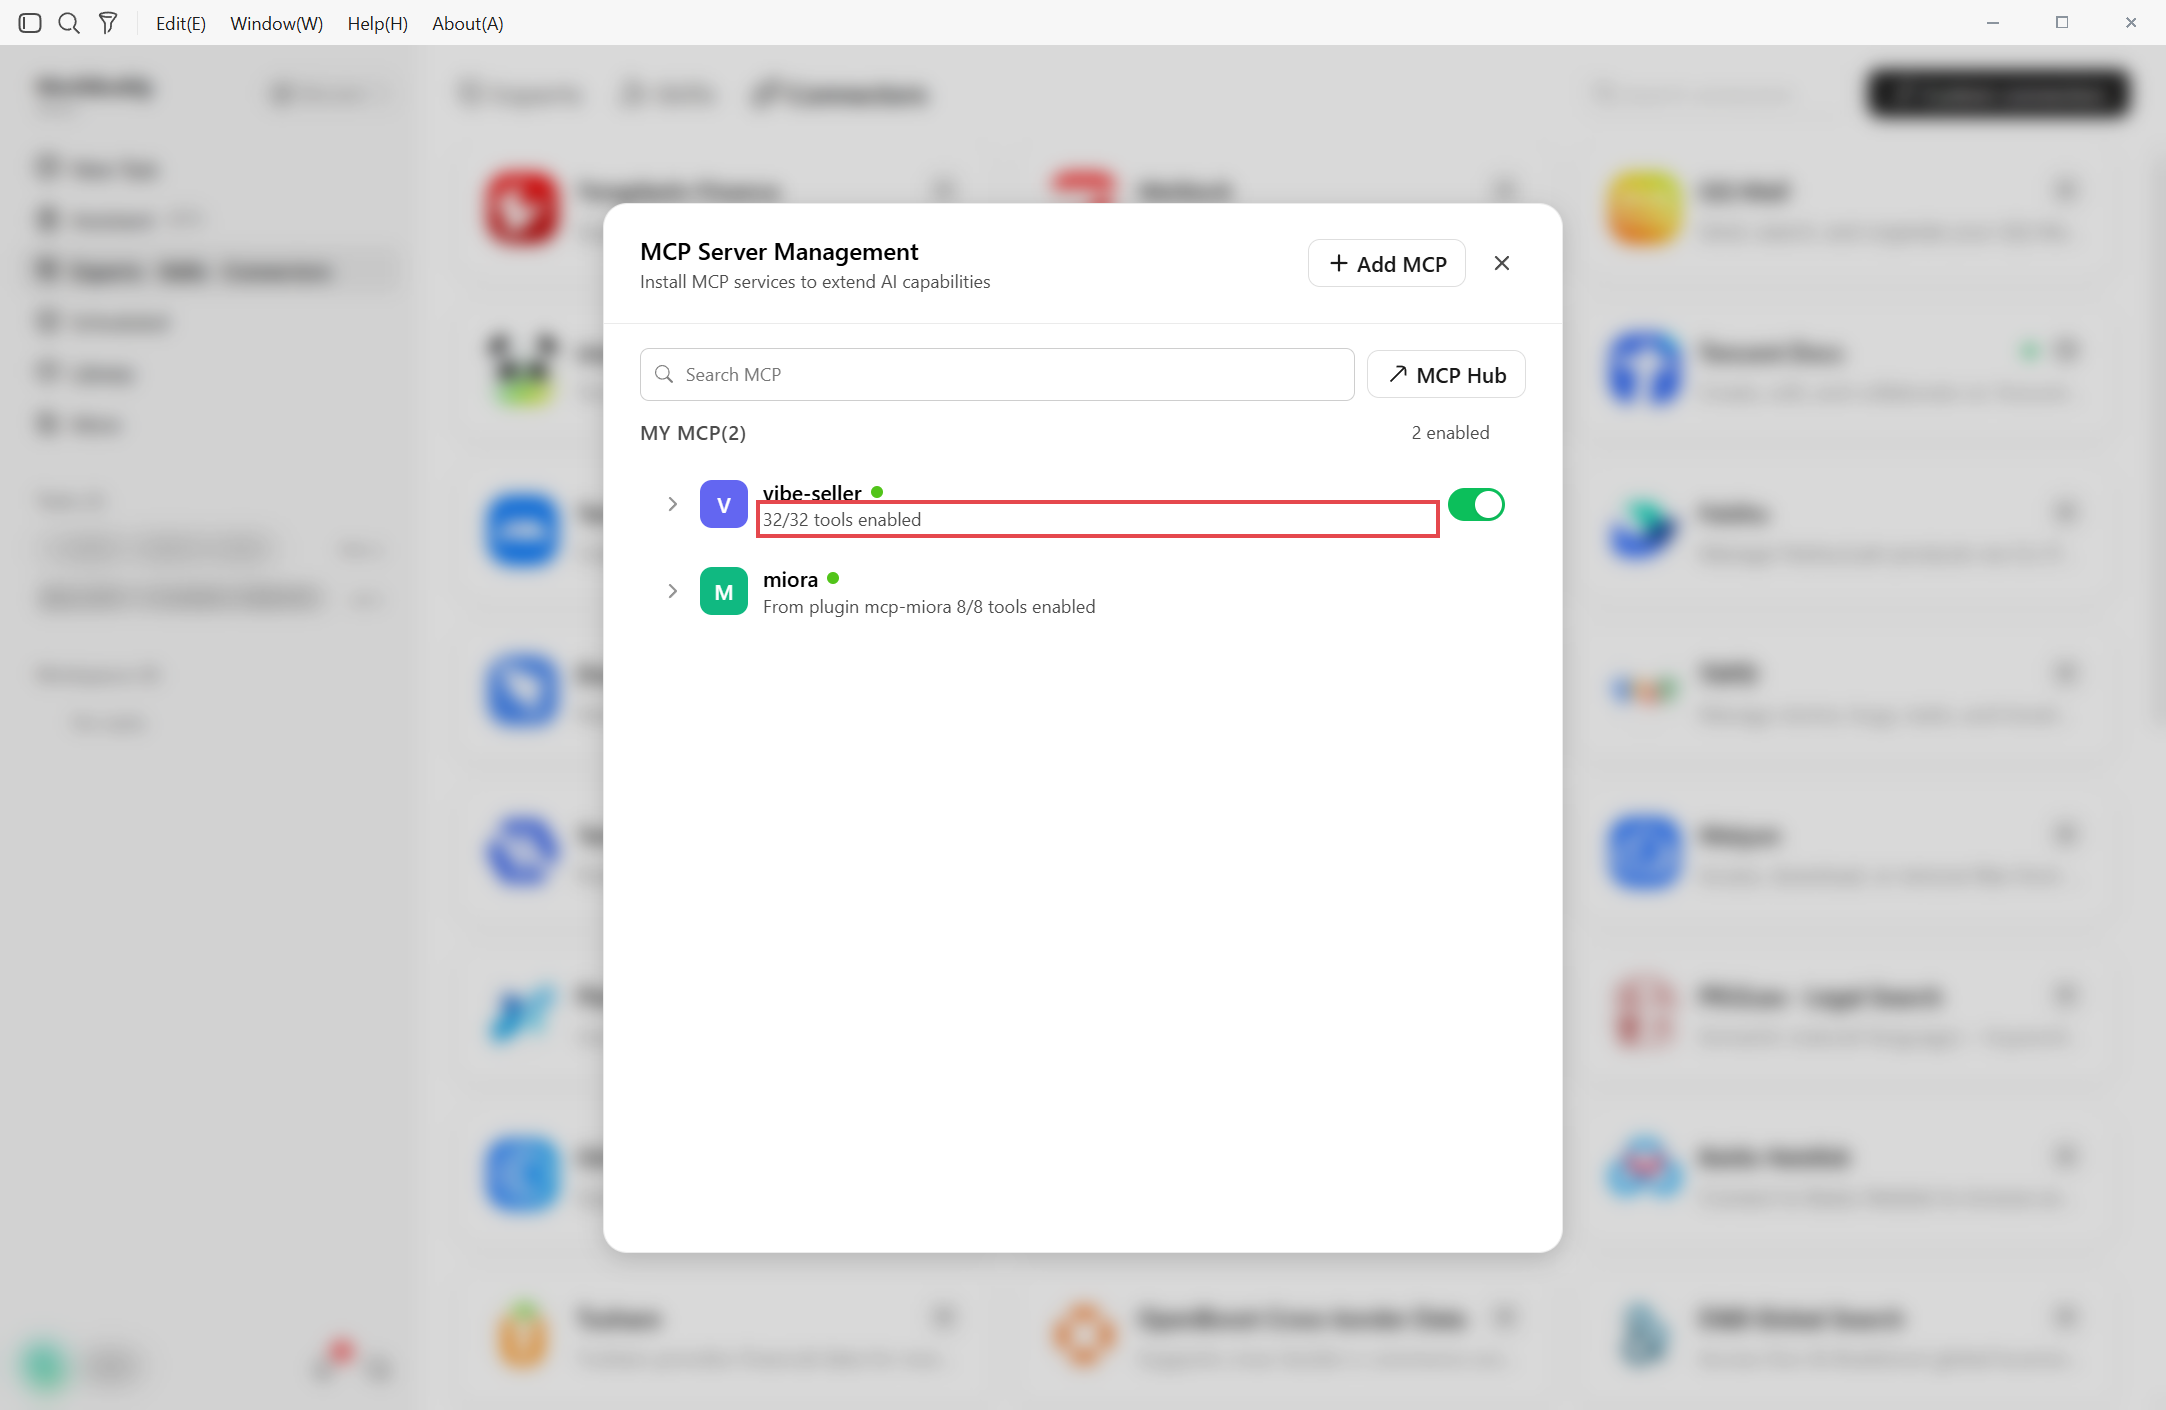
vibe-seller. It enables and the list reads32/32 tools enabled.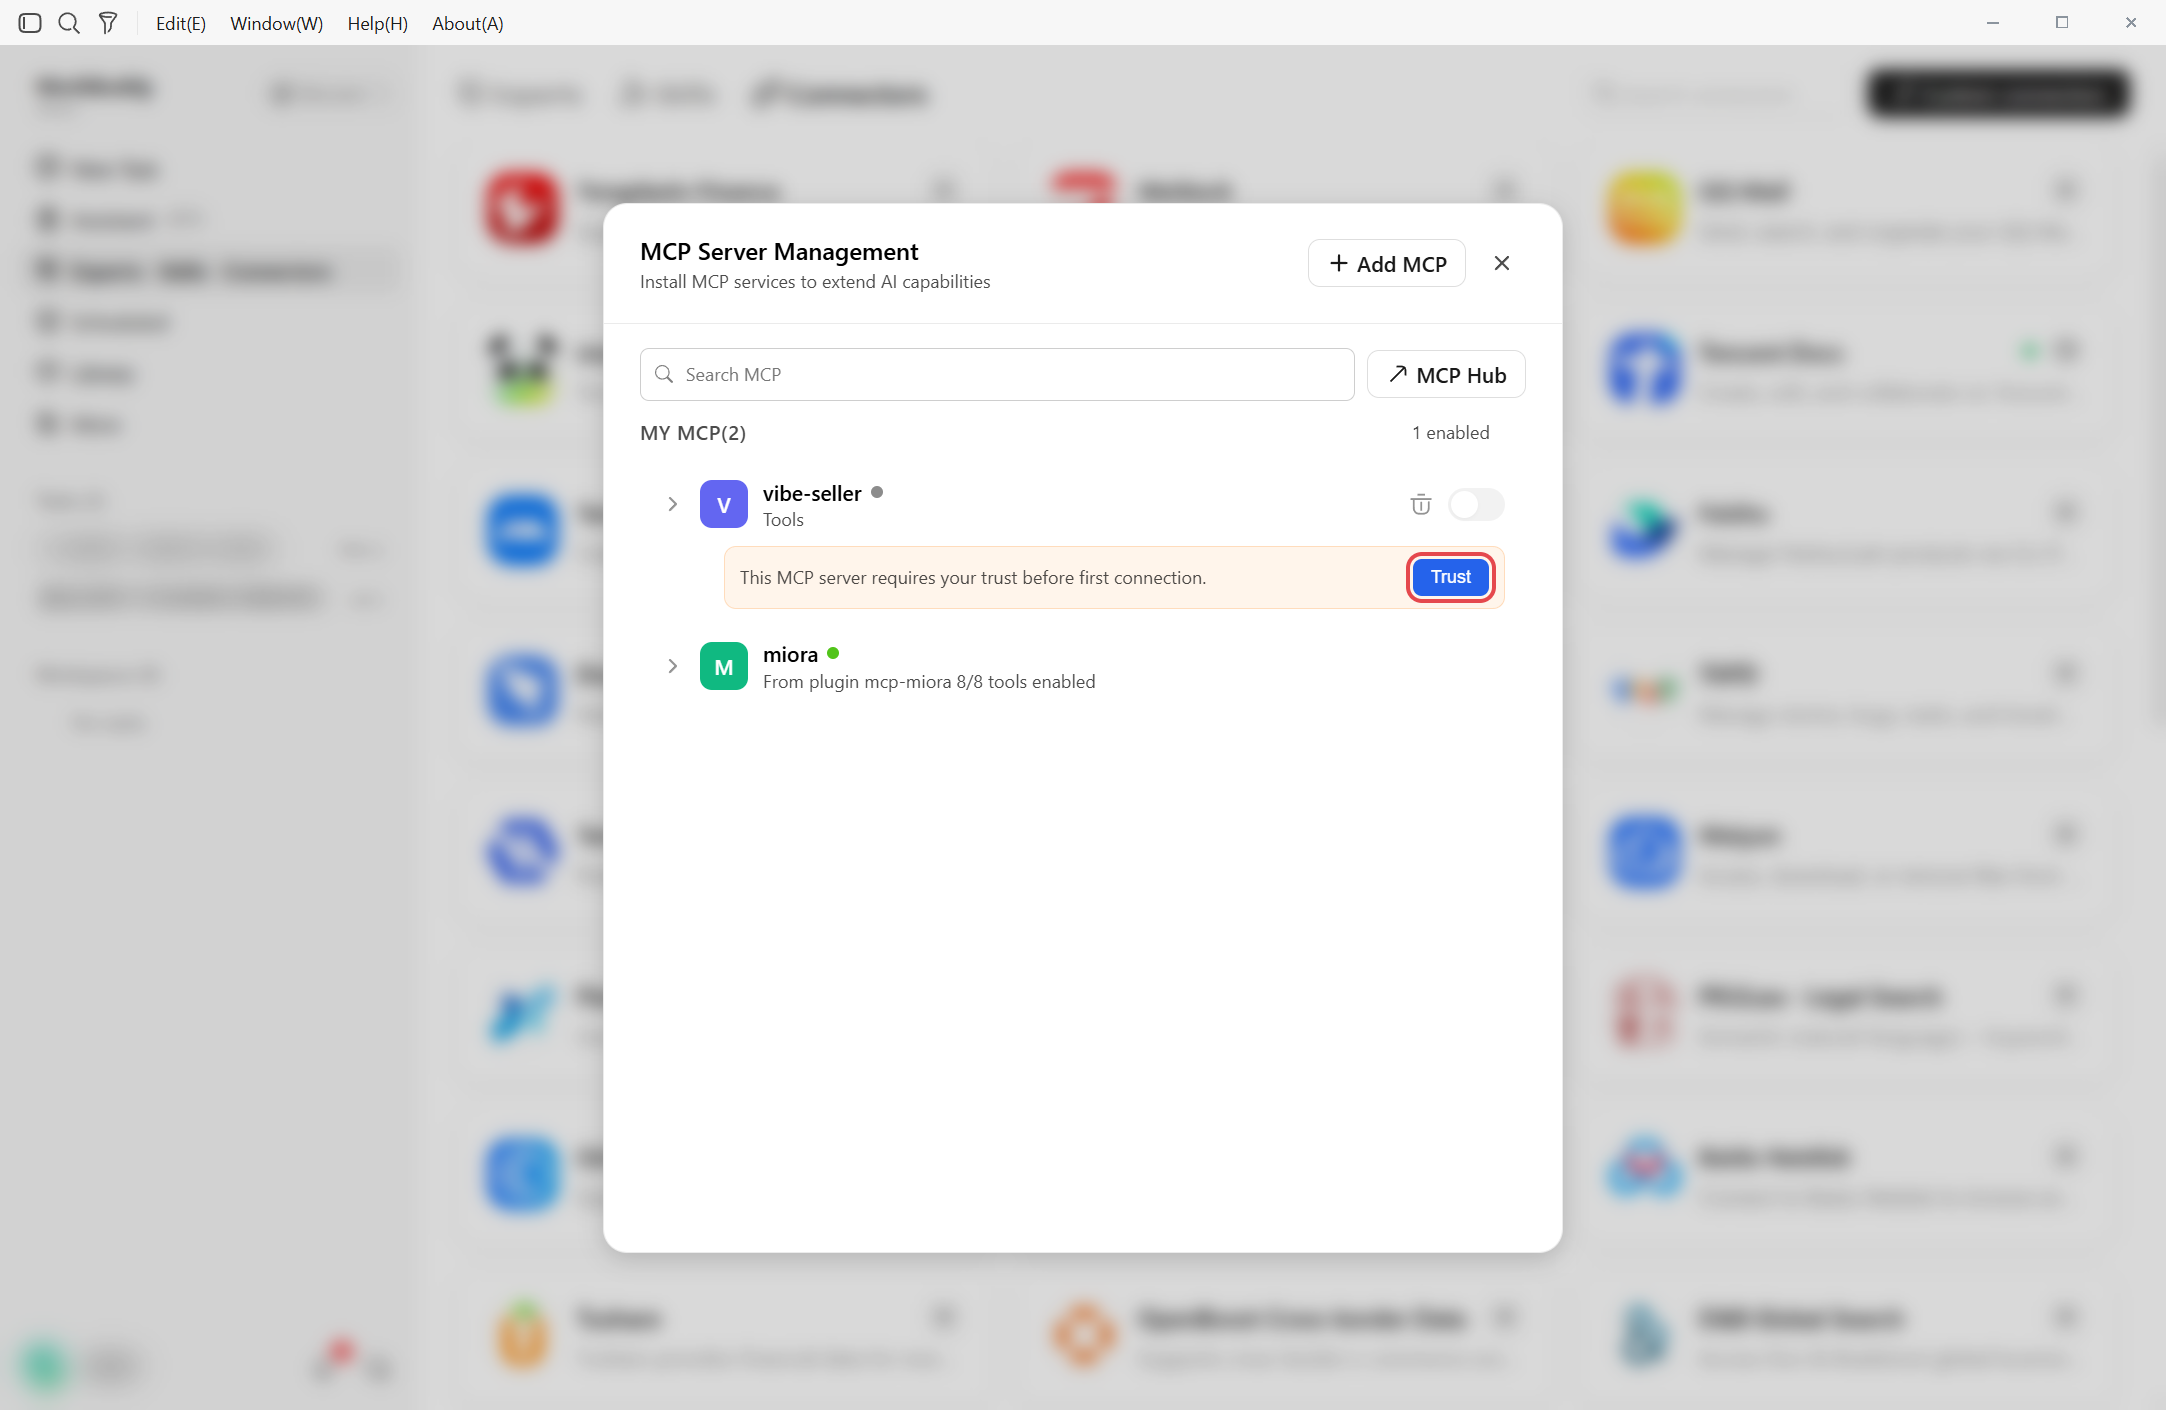
The file is ~/.workbuddy/mcp.json — on Windows
%USERPROFILE%\.workbuddy\mcp.json. Write the JSON from the dialog's
In the app tab into it, save, reopen WorkBuddy and click Trust in
the list. The block looks like this:
{
  "mcpServers": {
    "vibe-seller": {
      "url": "http://localhost:7777/api/mcp",
      "headers": {
        "Authorization": "Bearer vst_…"
      }
    }
  }
}
Check it works
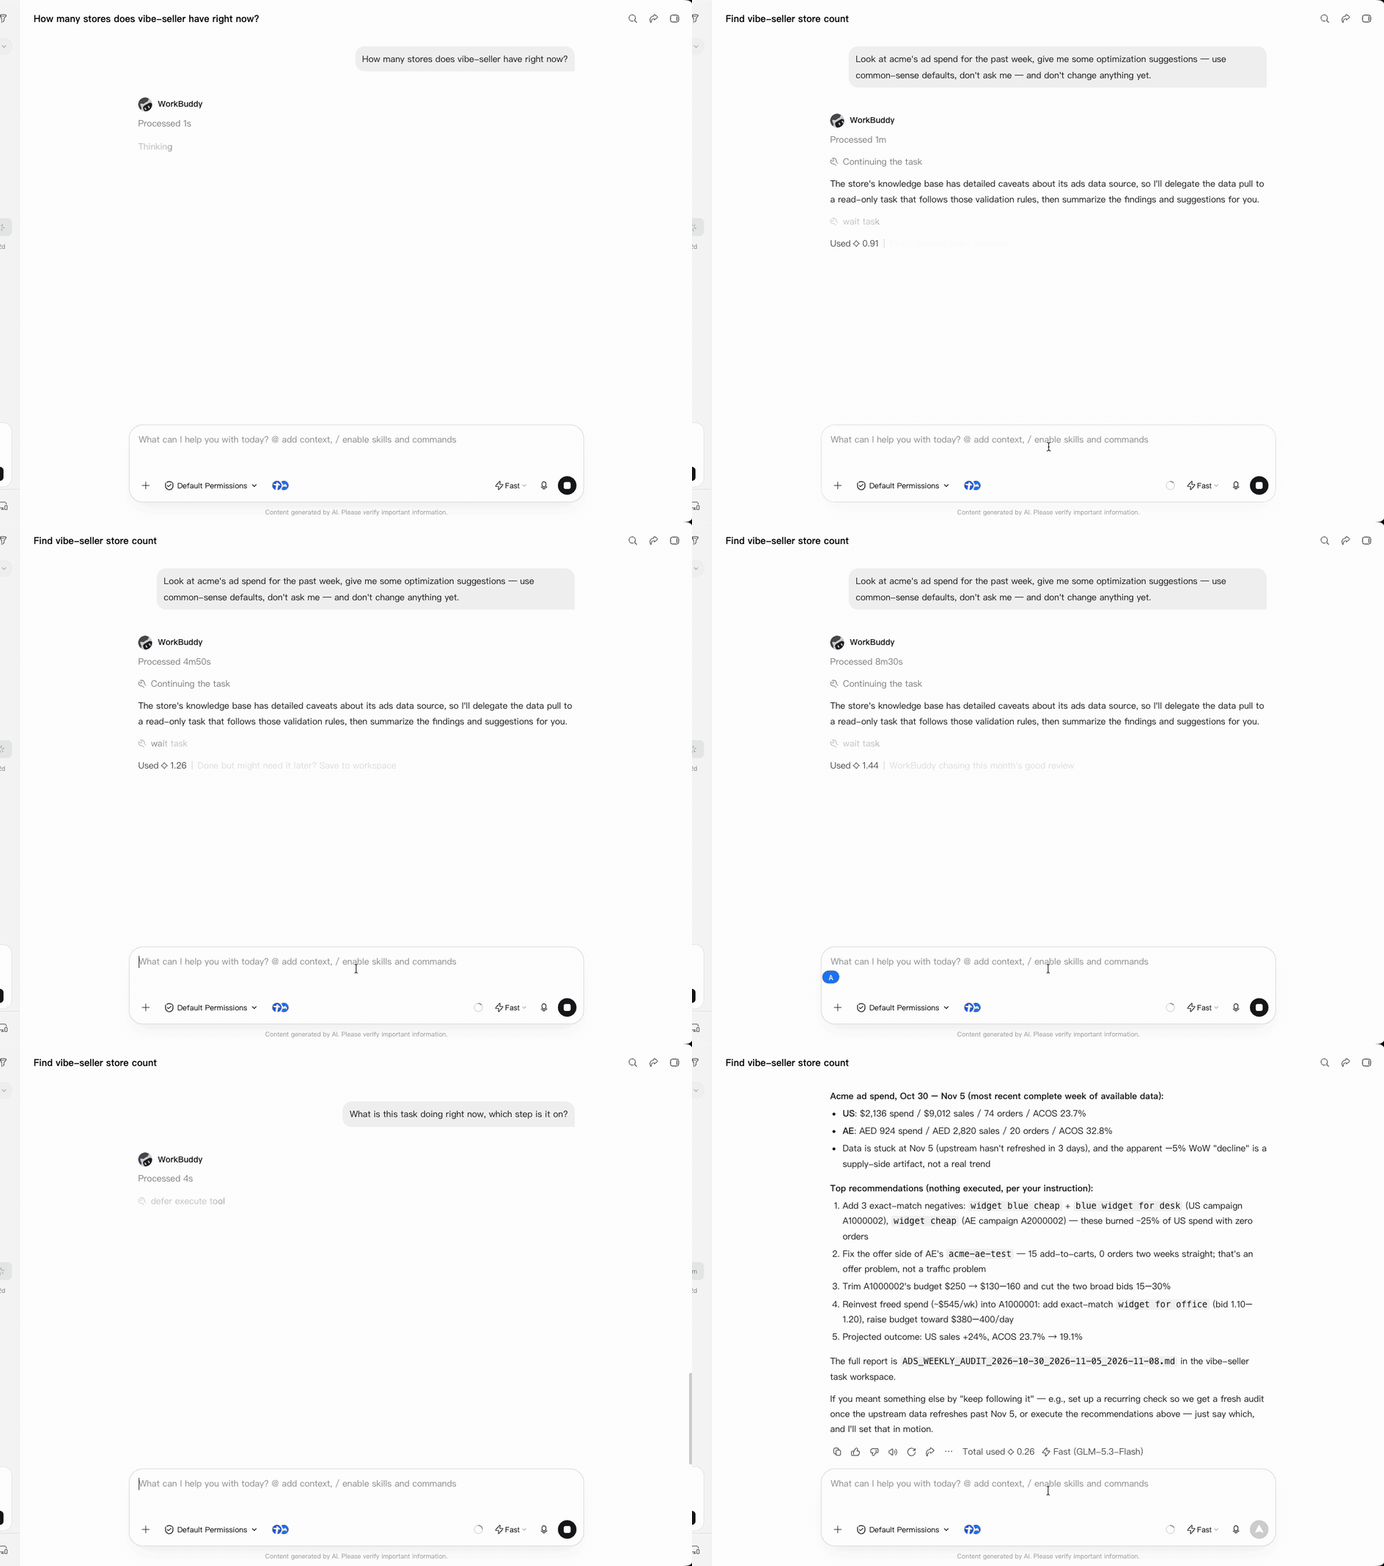
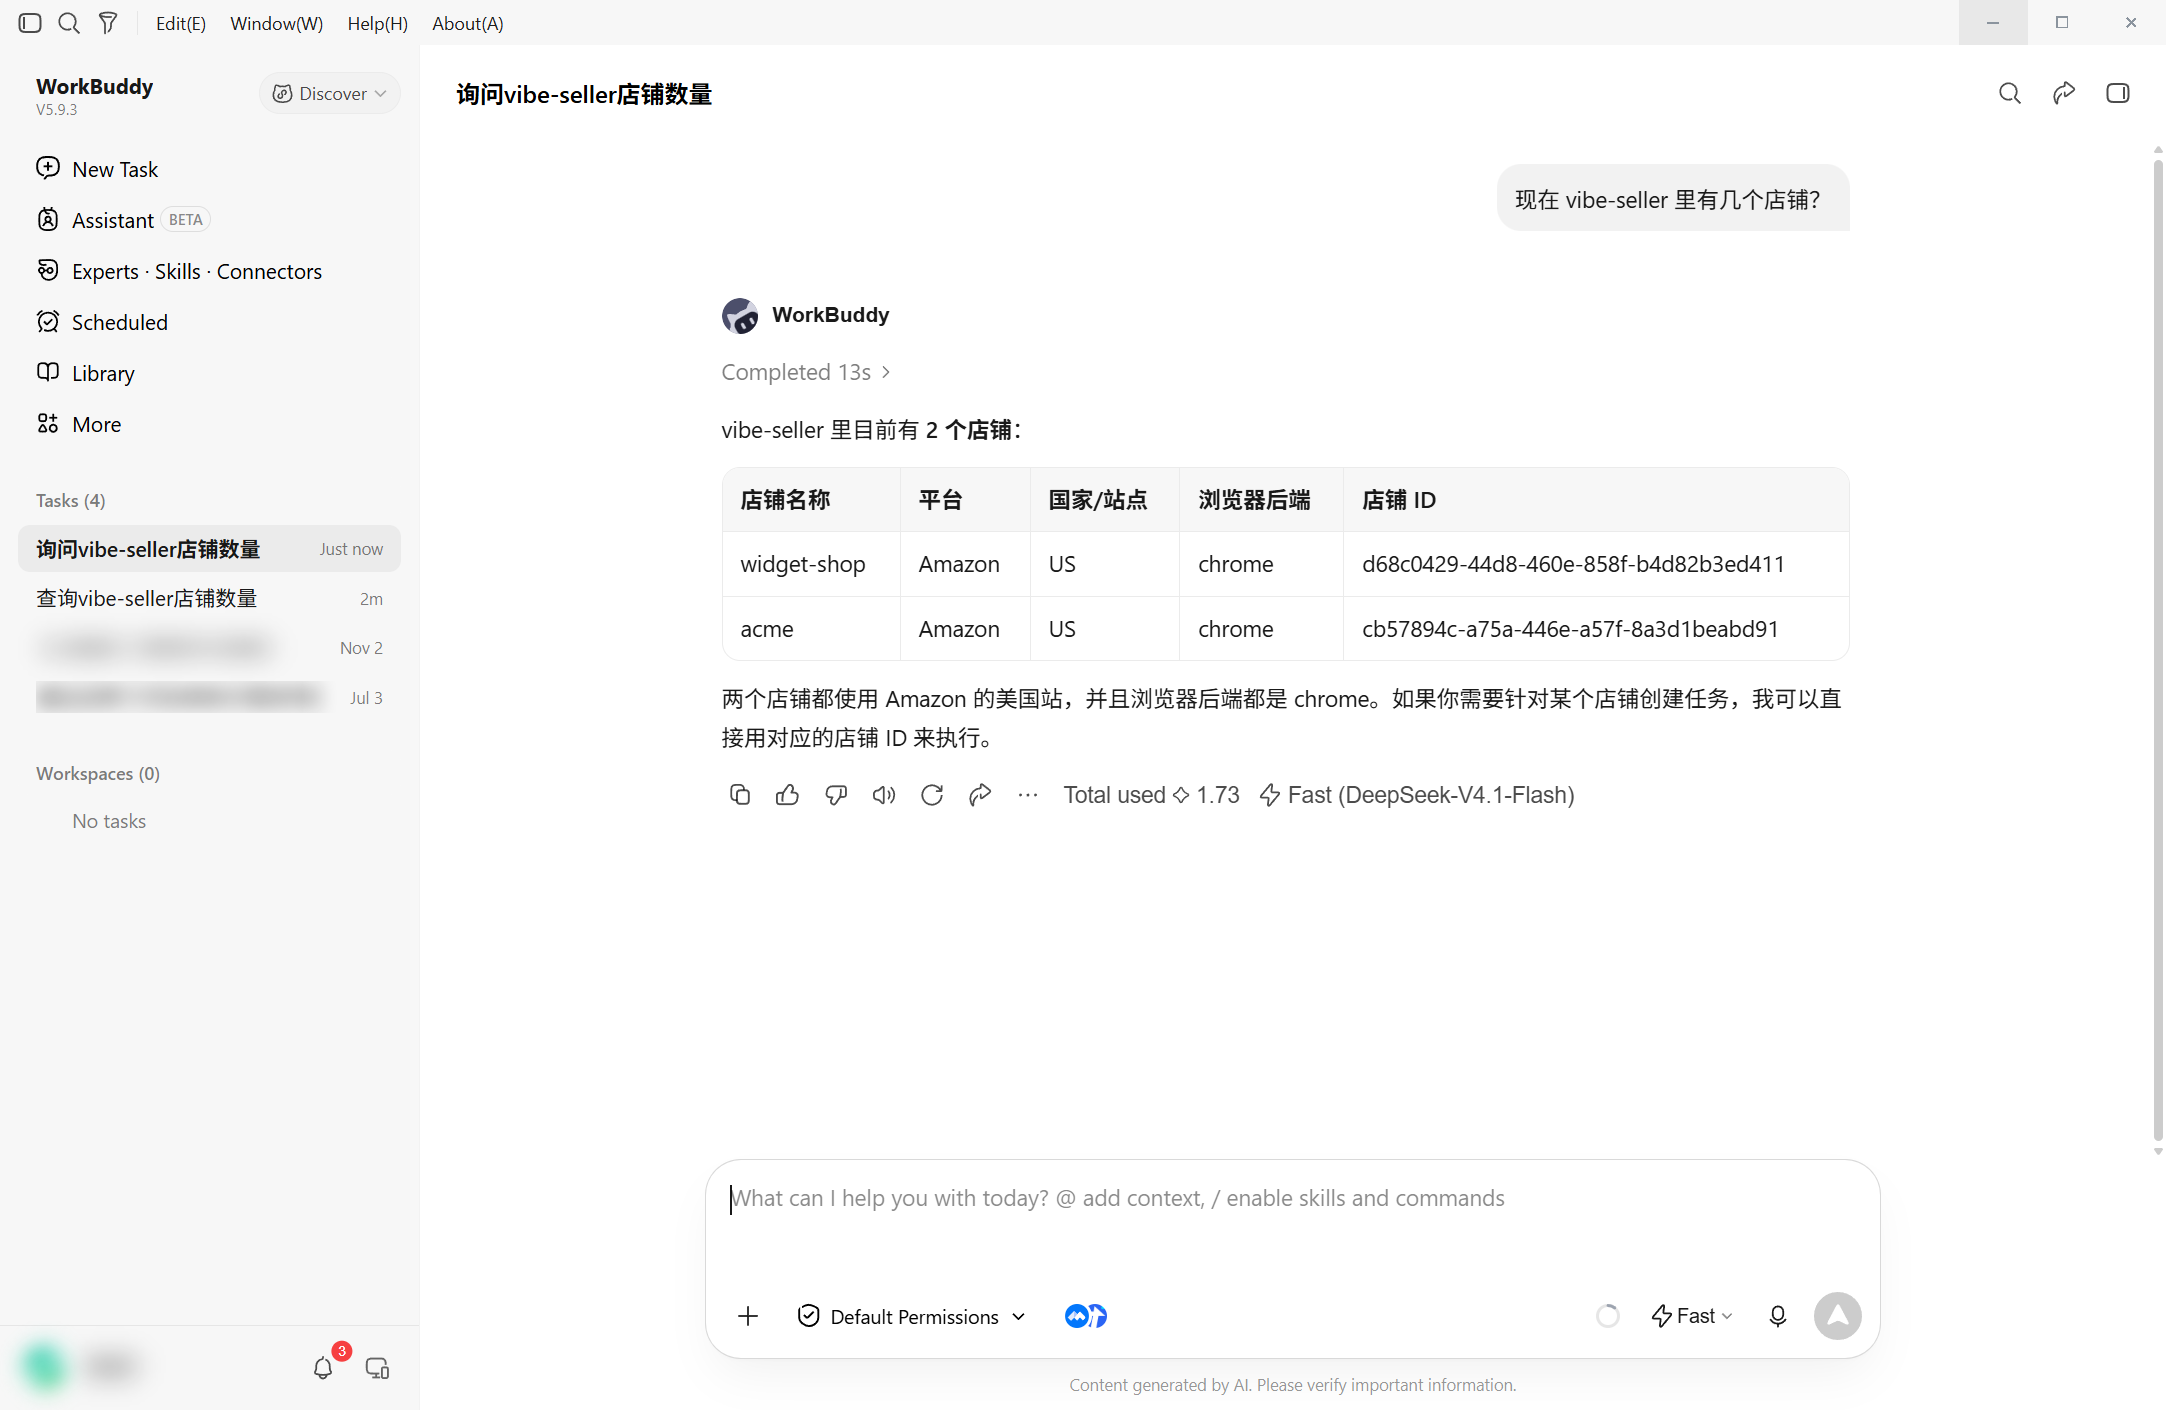
Start a new chat and ask how many stores are in vibe-seller right now?. If it names your stores, you're connected.
Change or remove
To pause it, flip the switch off in the list. To remove it, click + Add MCP
again, delete the "vibe-seller": {…} entry in the editor and save.
Next
See What you can ask for what to say once you're connected, and Examples for full walkthroughs.