Connect Vibe Seller to Qoder
Once it's connected, you can ask Qoder to create Vibe Seller tasks, follow their progress and answer their questions.
Two things to get ready first:
- An API key — see First: create an API key. Right after you create it, the dialog shows your server address and a ready-made Qoder config;
- Qoder itself, installed from qoder.com/download (the China edition is called Qoder CN).
Connect
-
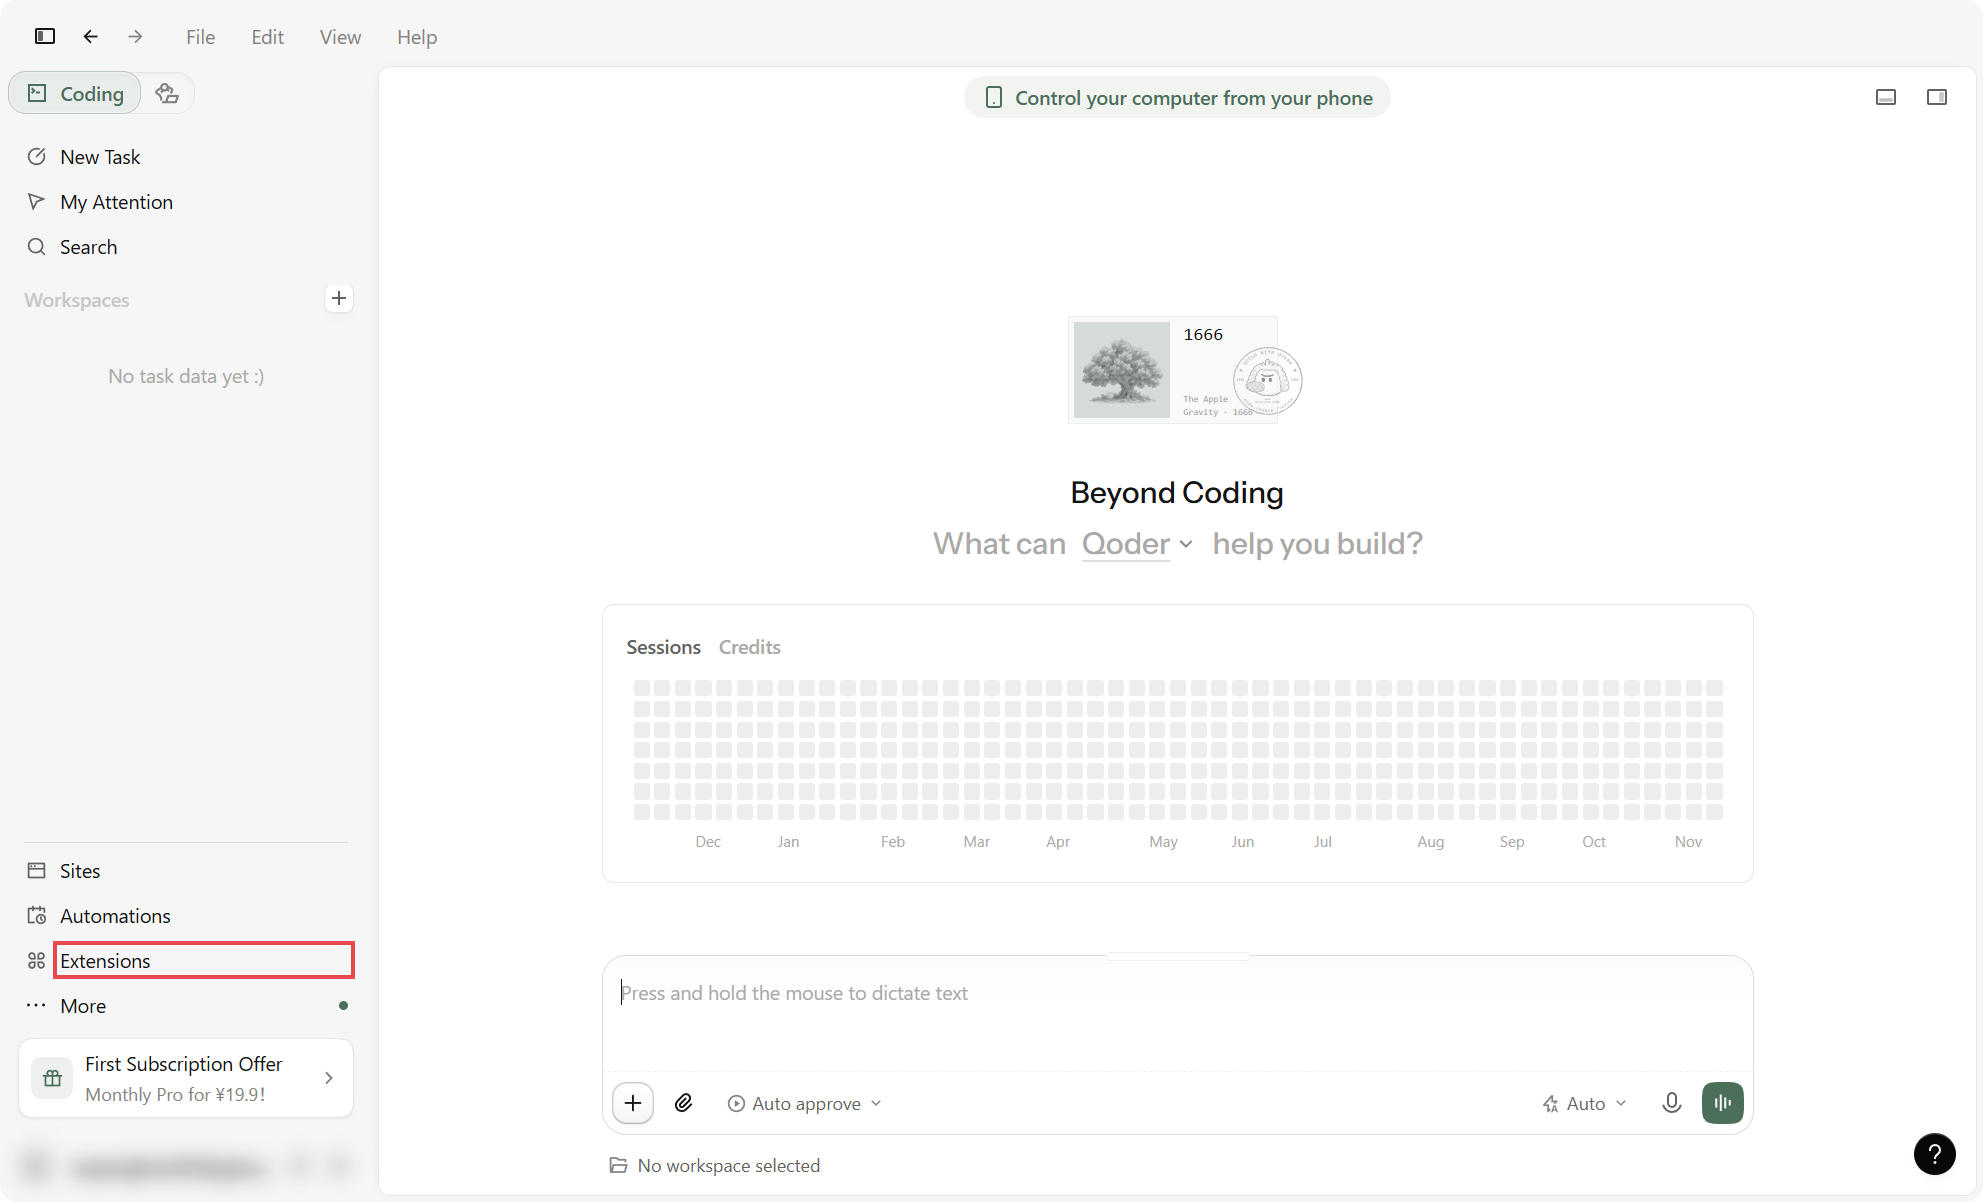
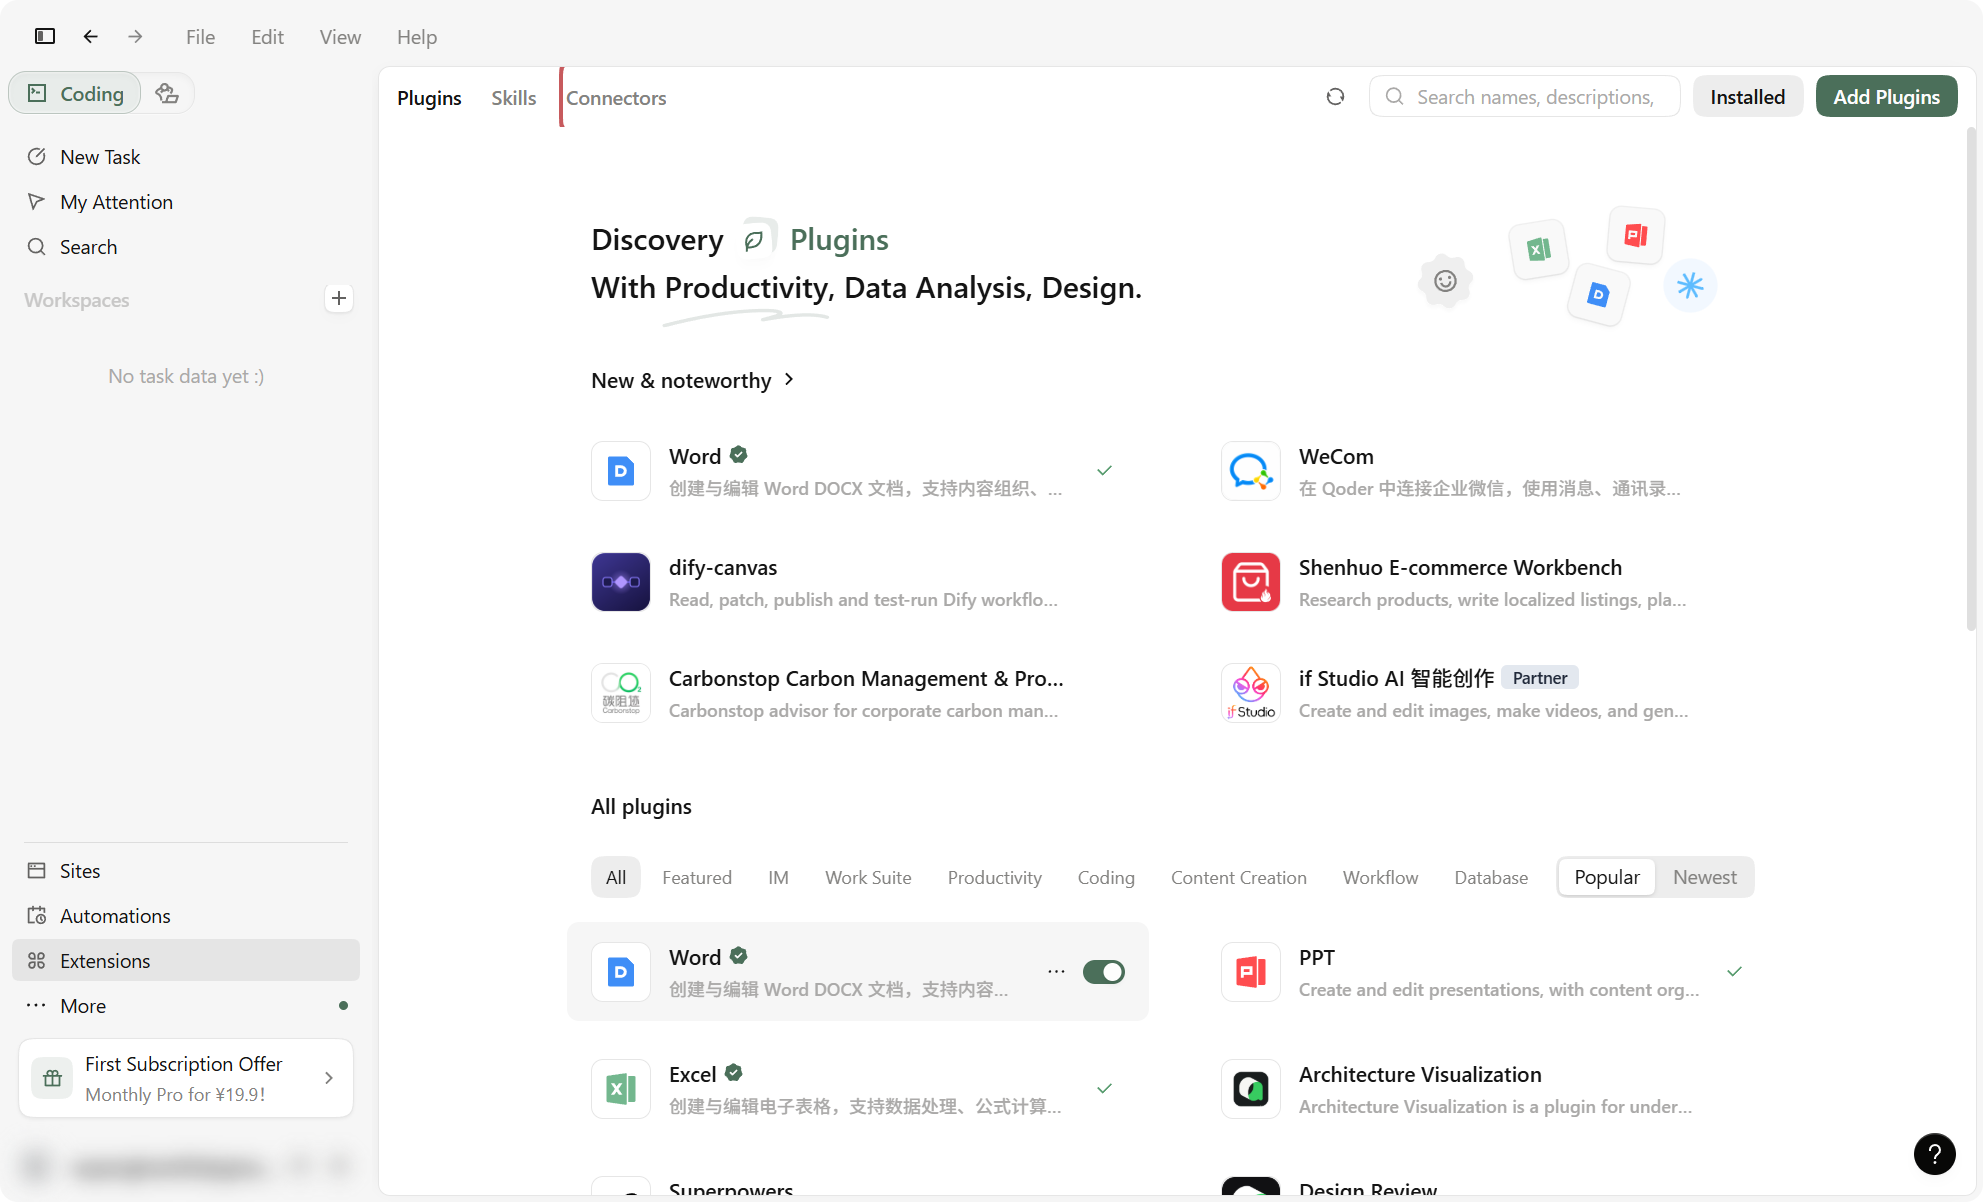
Open Extensions in the left column and switch to the Connectors tab.
-
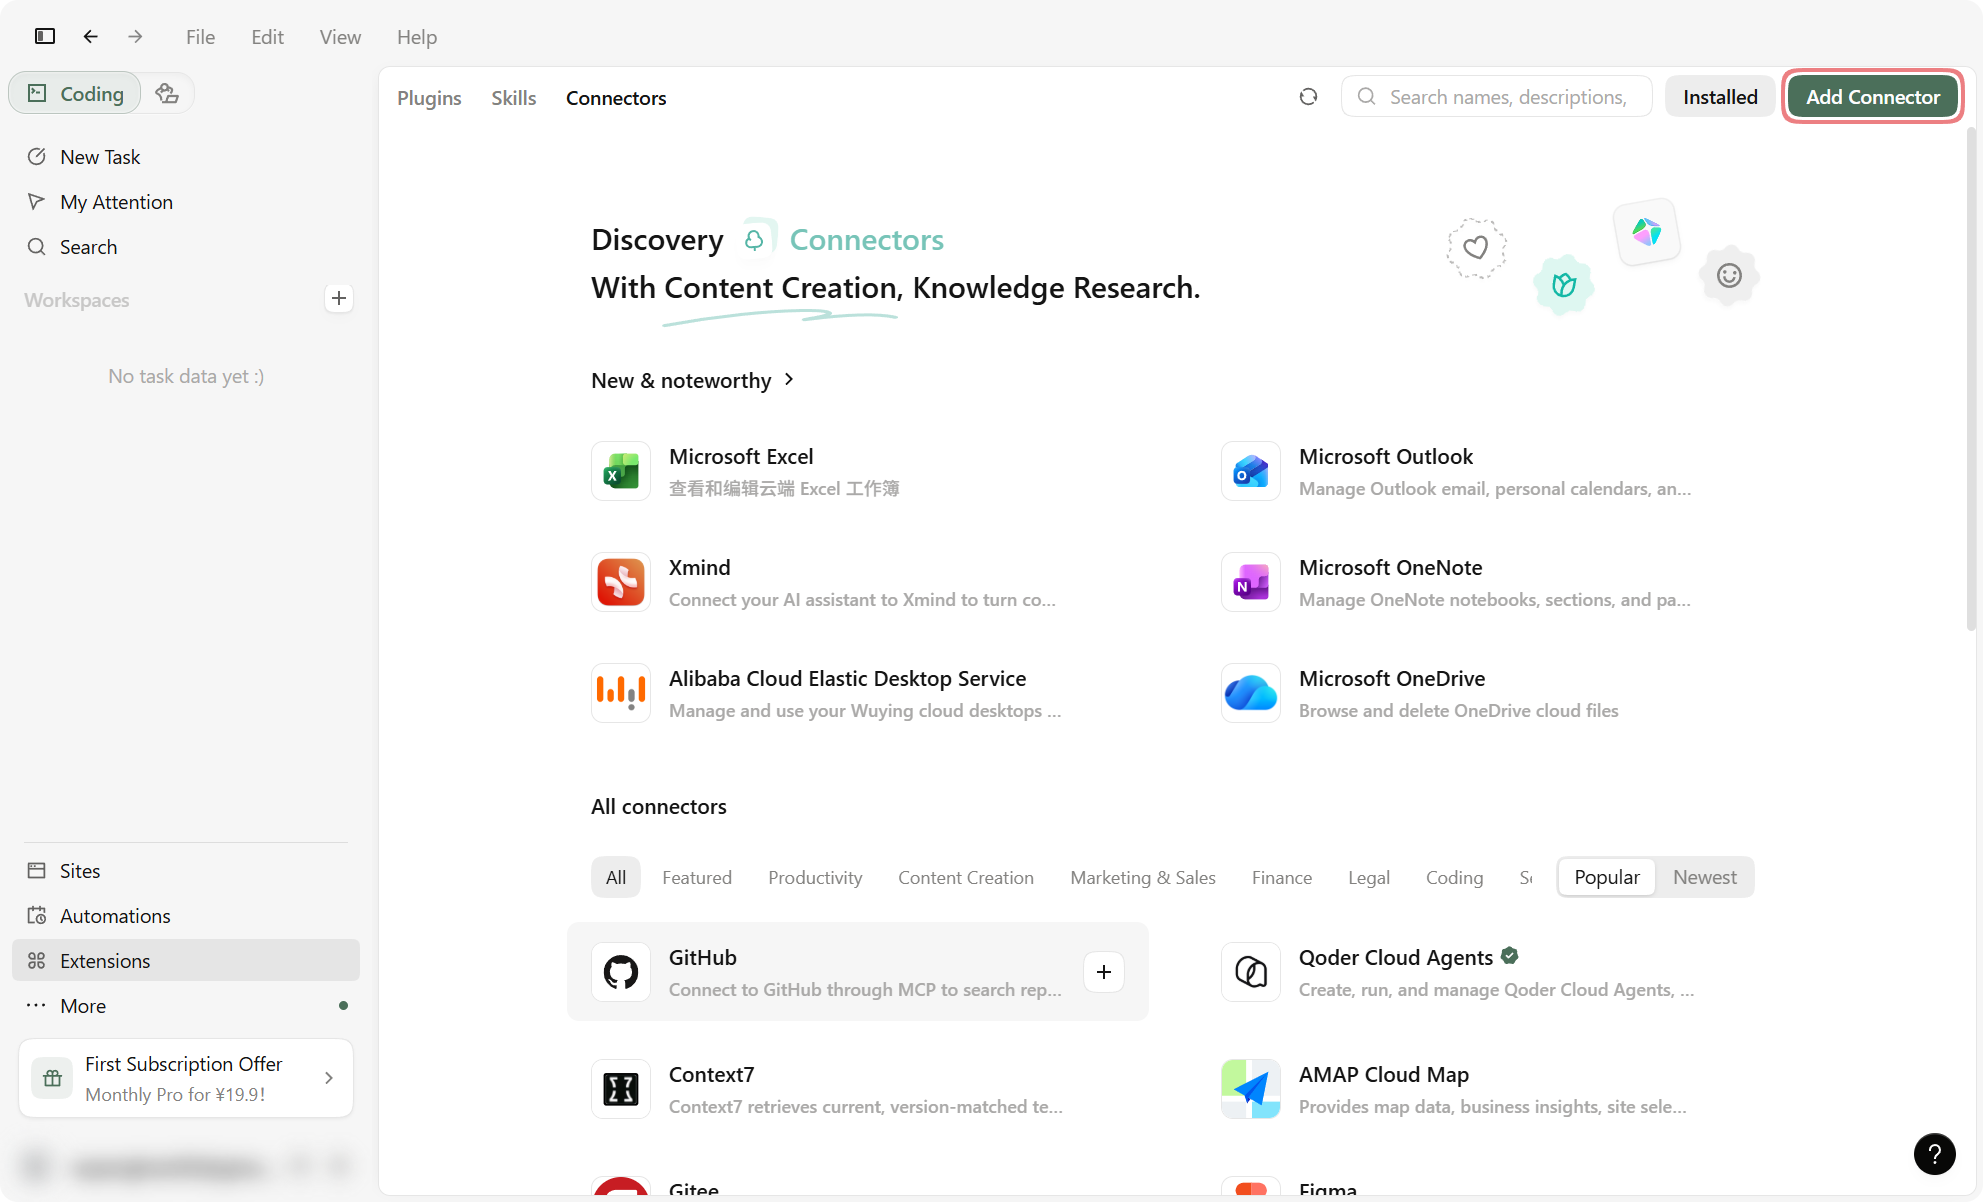
Click Add Connector at the top right and switch the dialog to its JSON tab.
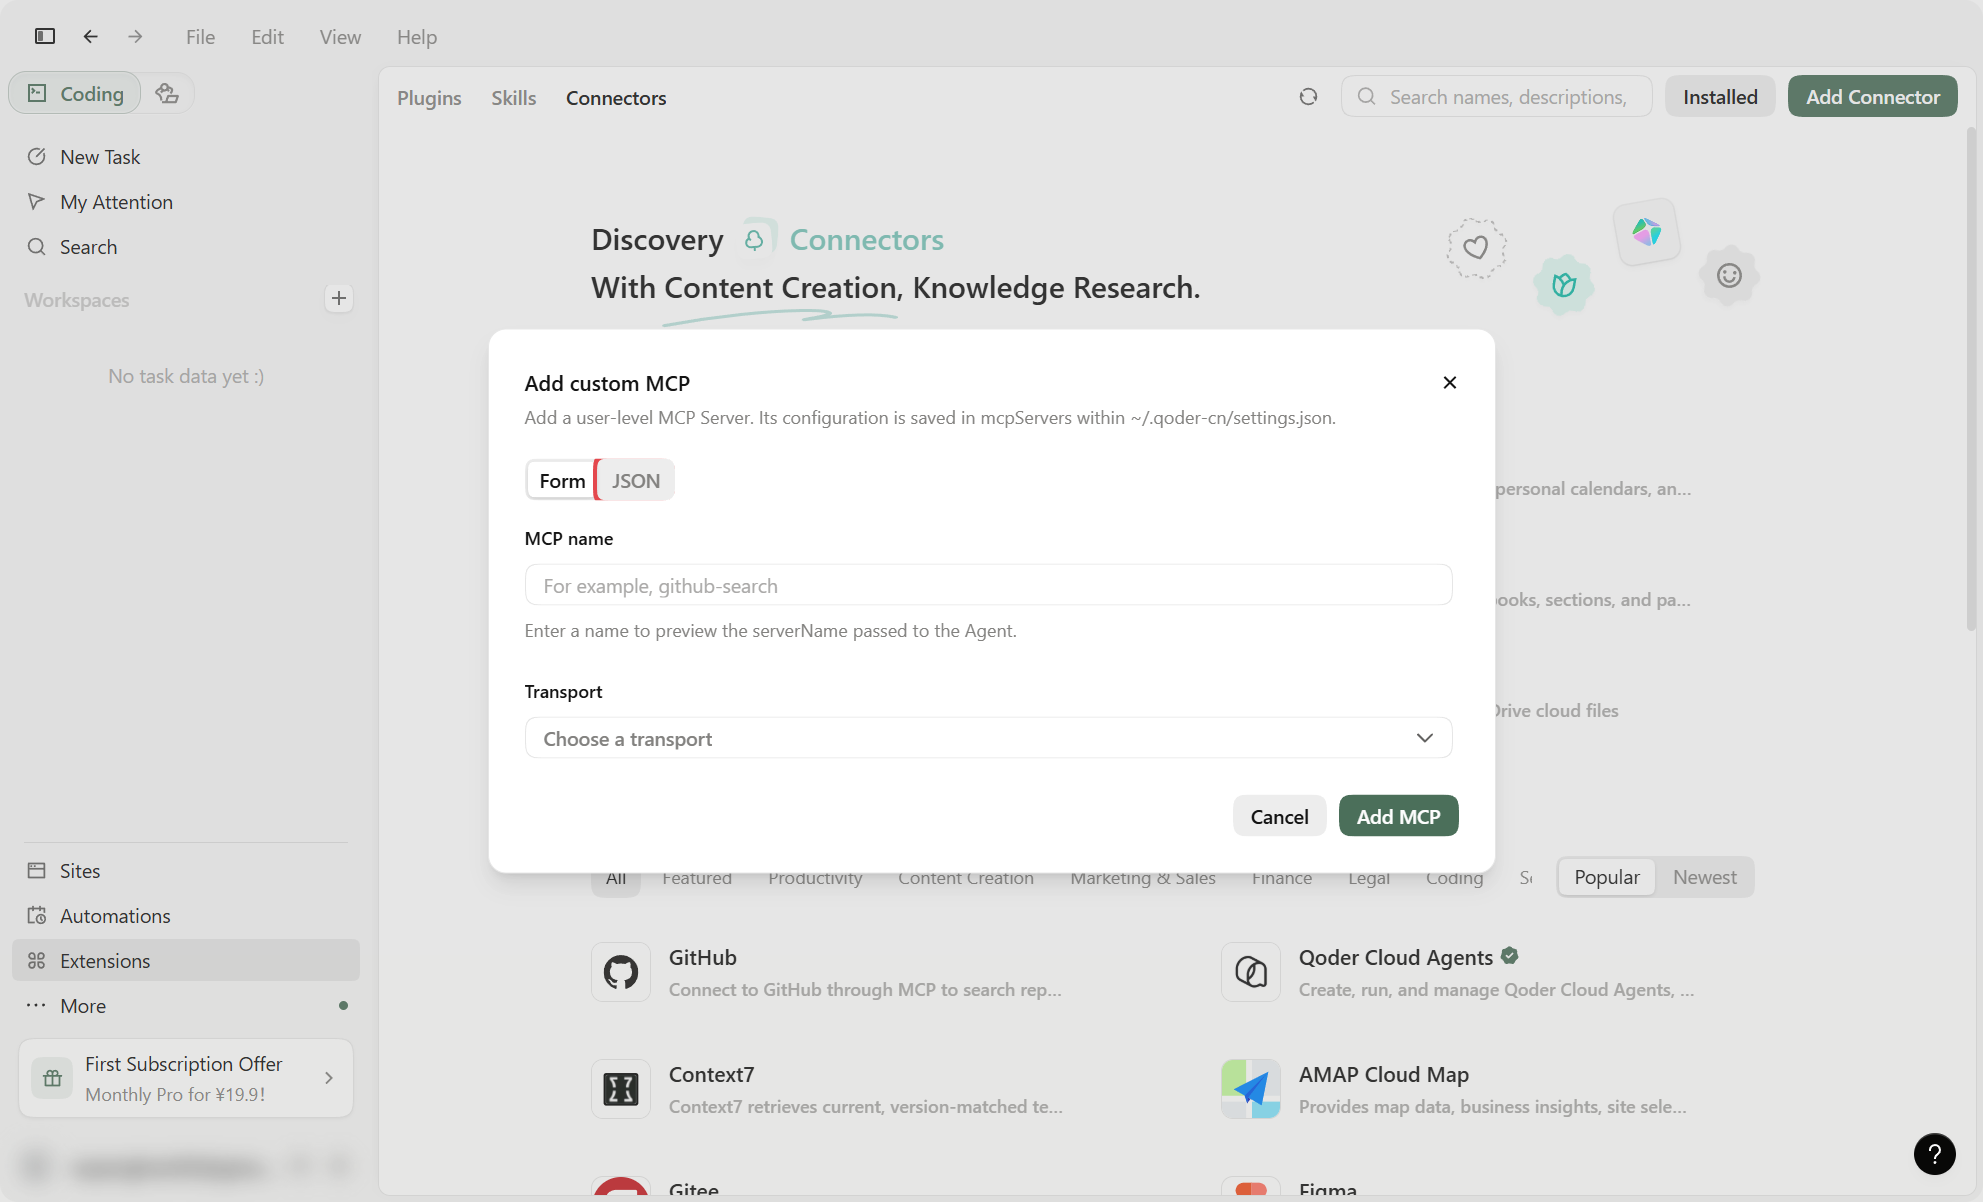
-
Copy the JSON from the dialog's In the app tab, paste it in and click Preview import.
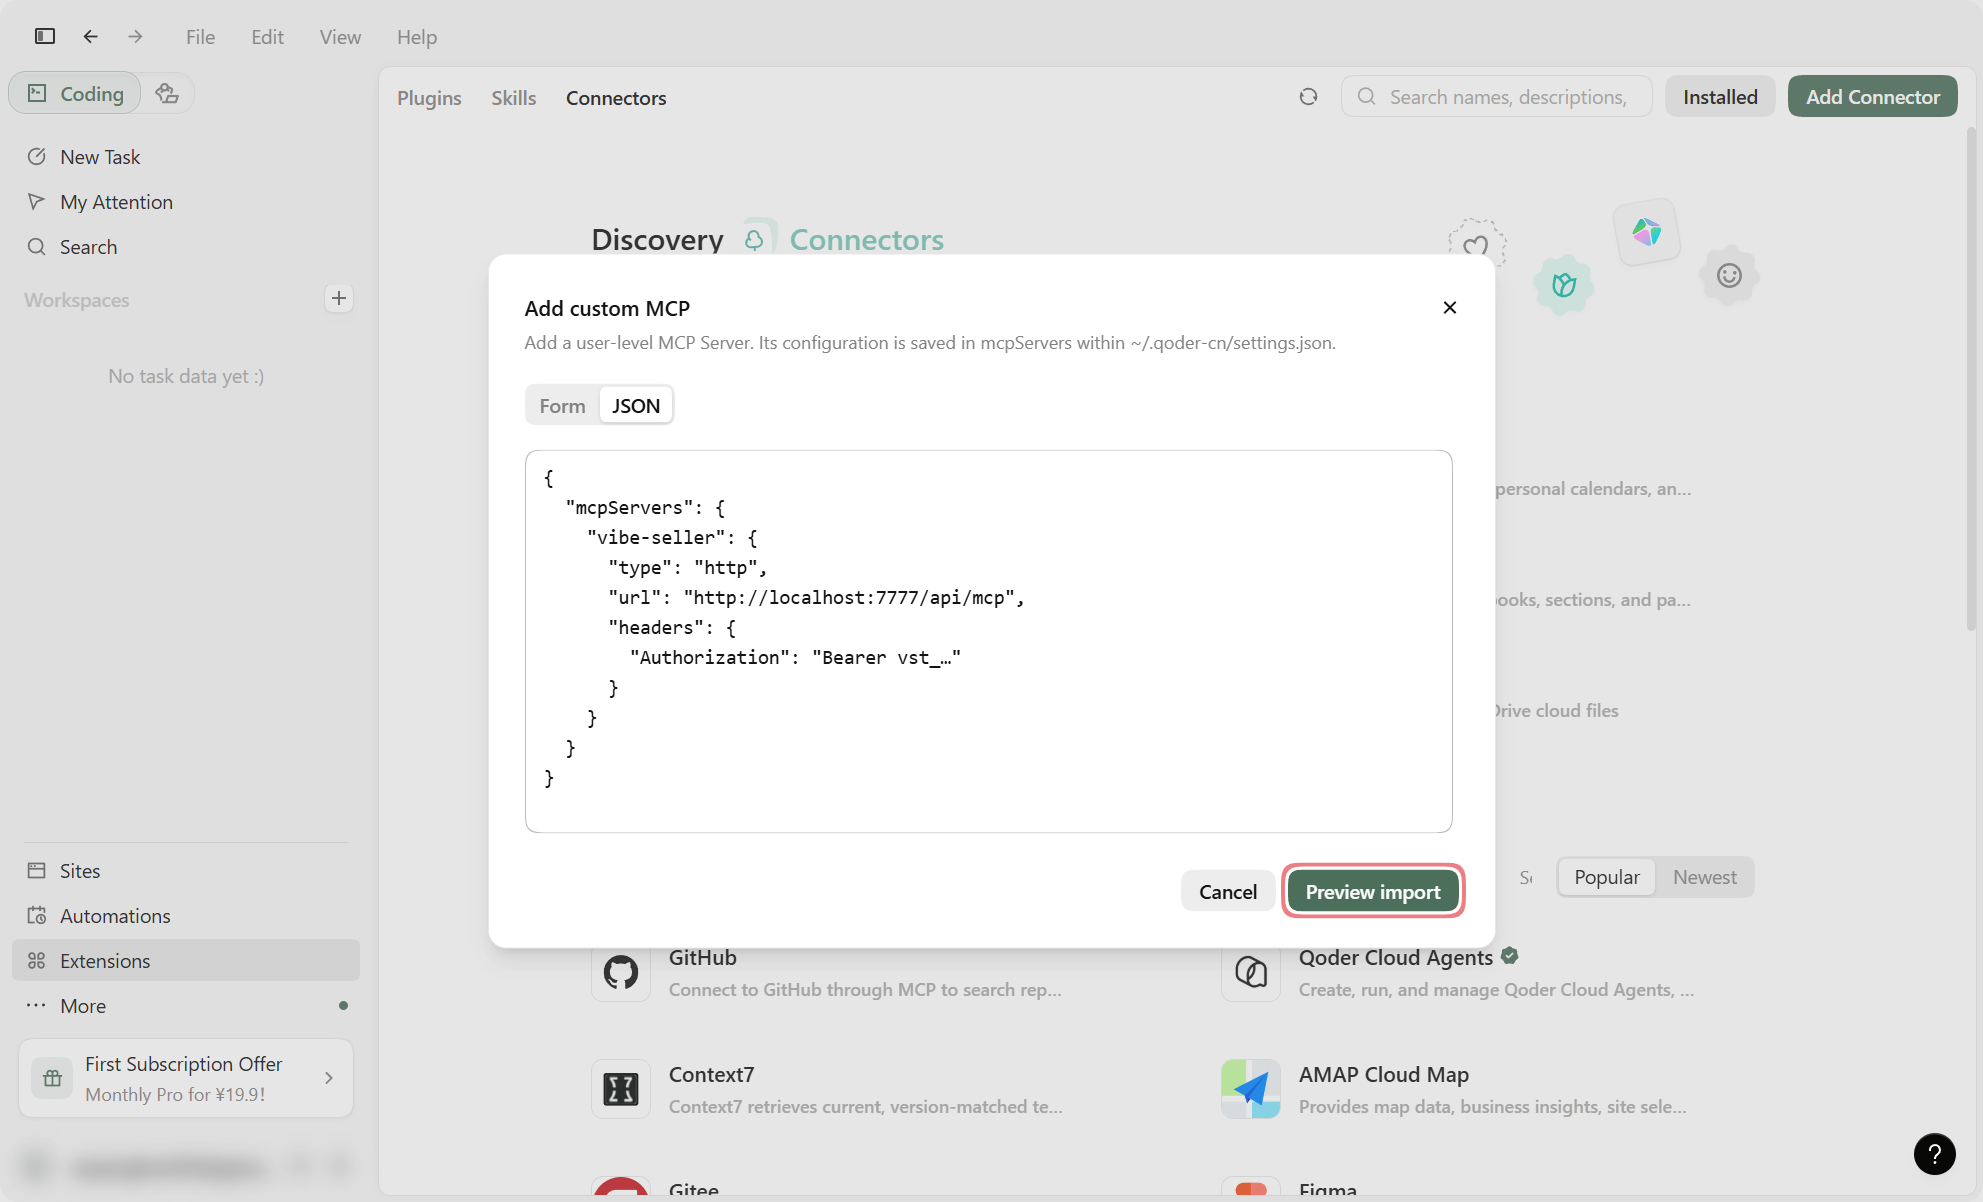
-
Check the entry and click Import 1 MCPs. If vibe-seller was set up before, the preview says it will be replaced — importing overwrites the old entry.
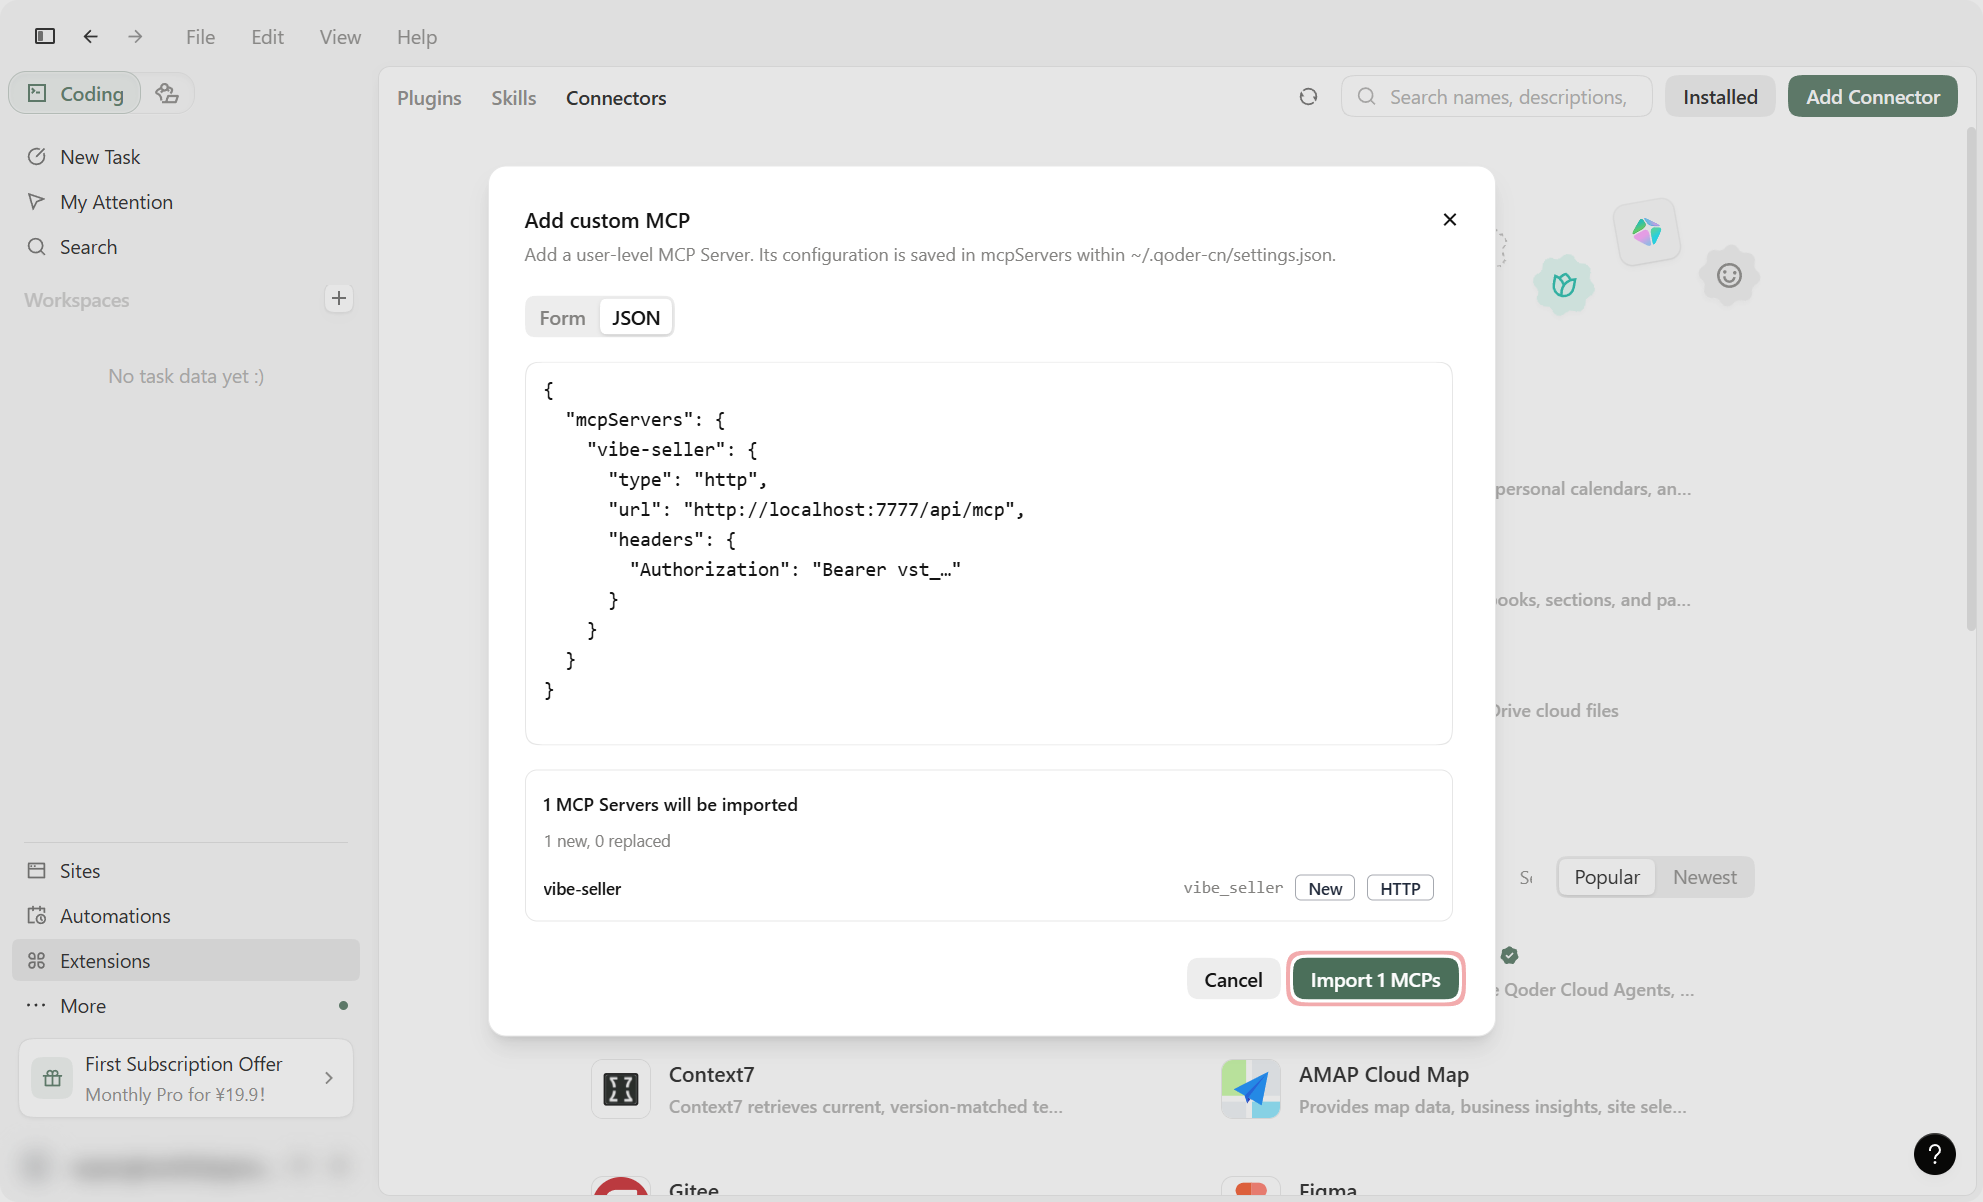
-
The list now reads
vibe-seller · Ready · HTTP, and the server is usable right away.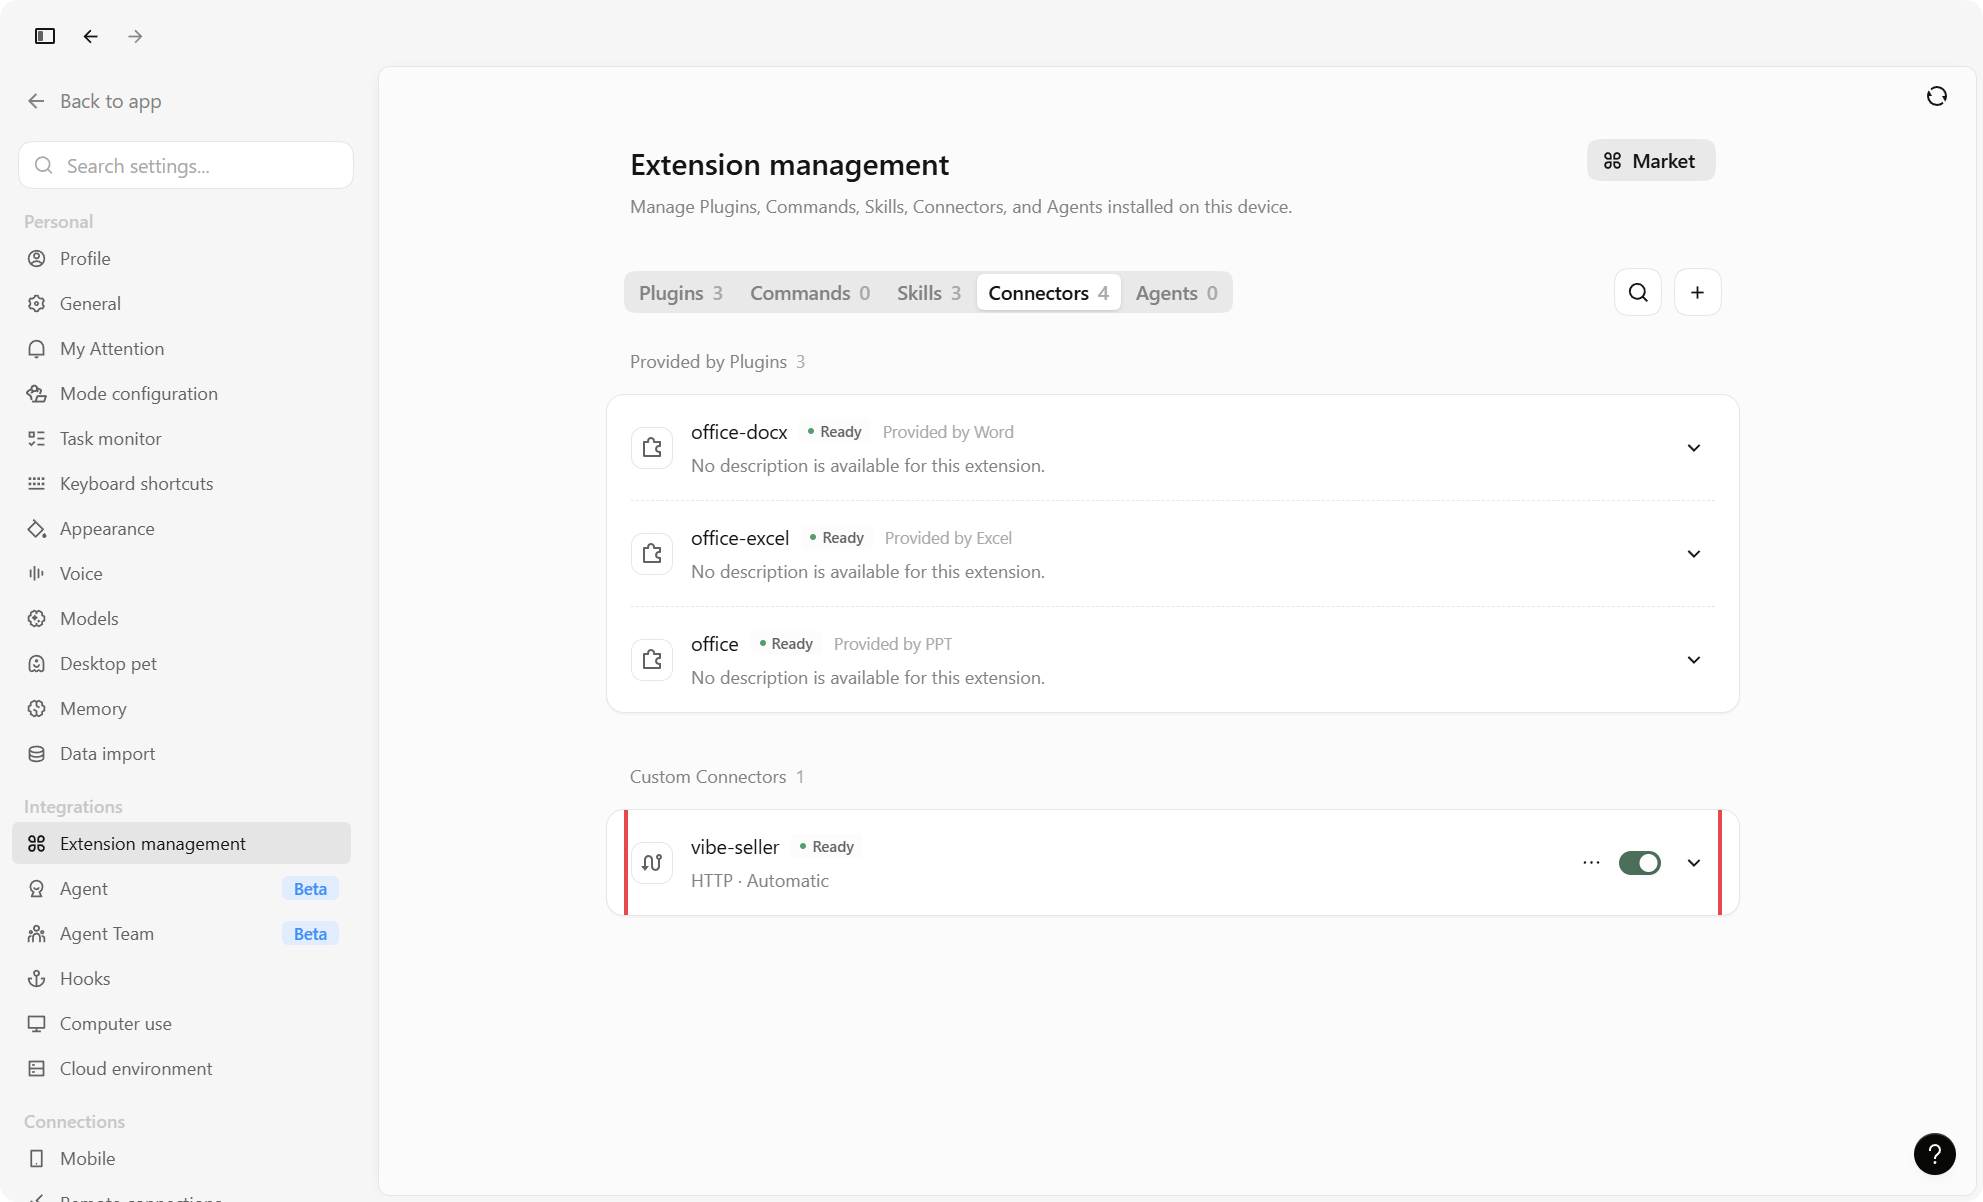
Write the entry into mcpServers in ~/.qoder-cn/settings.json (China
edition) or ~/.qoder/settings.json (international), save and reopen
Qoder. If you edit the file directly, trust the connector again in Qoder.
The block looks like this:
{
  "mcpServers": {
    "vibe-seller": {
      "type": "http",
      "url": "http://localhost:7777/api/mcp",
      "headers": {
        "Authorization": "Bearer vst_…"
      }
    }
  }
}
Check it works
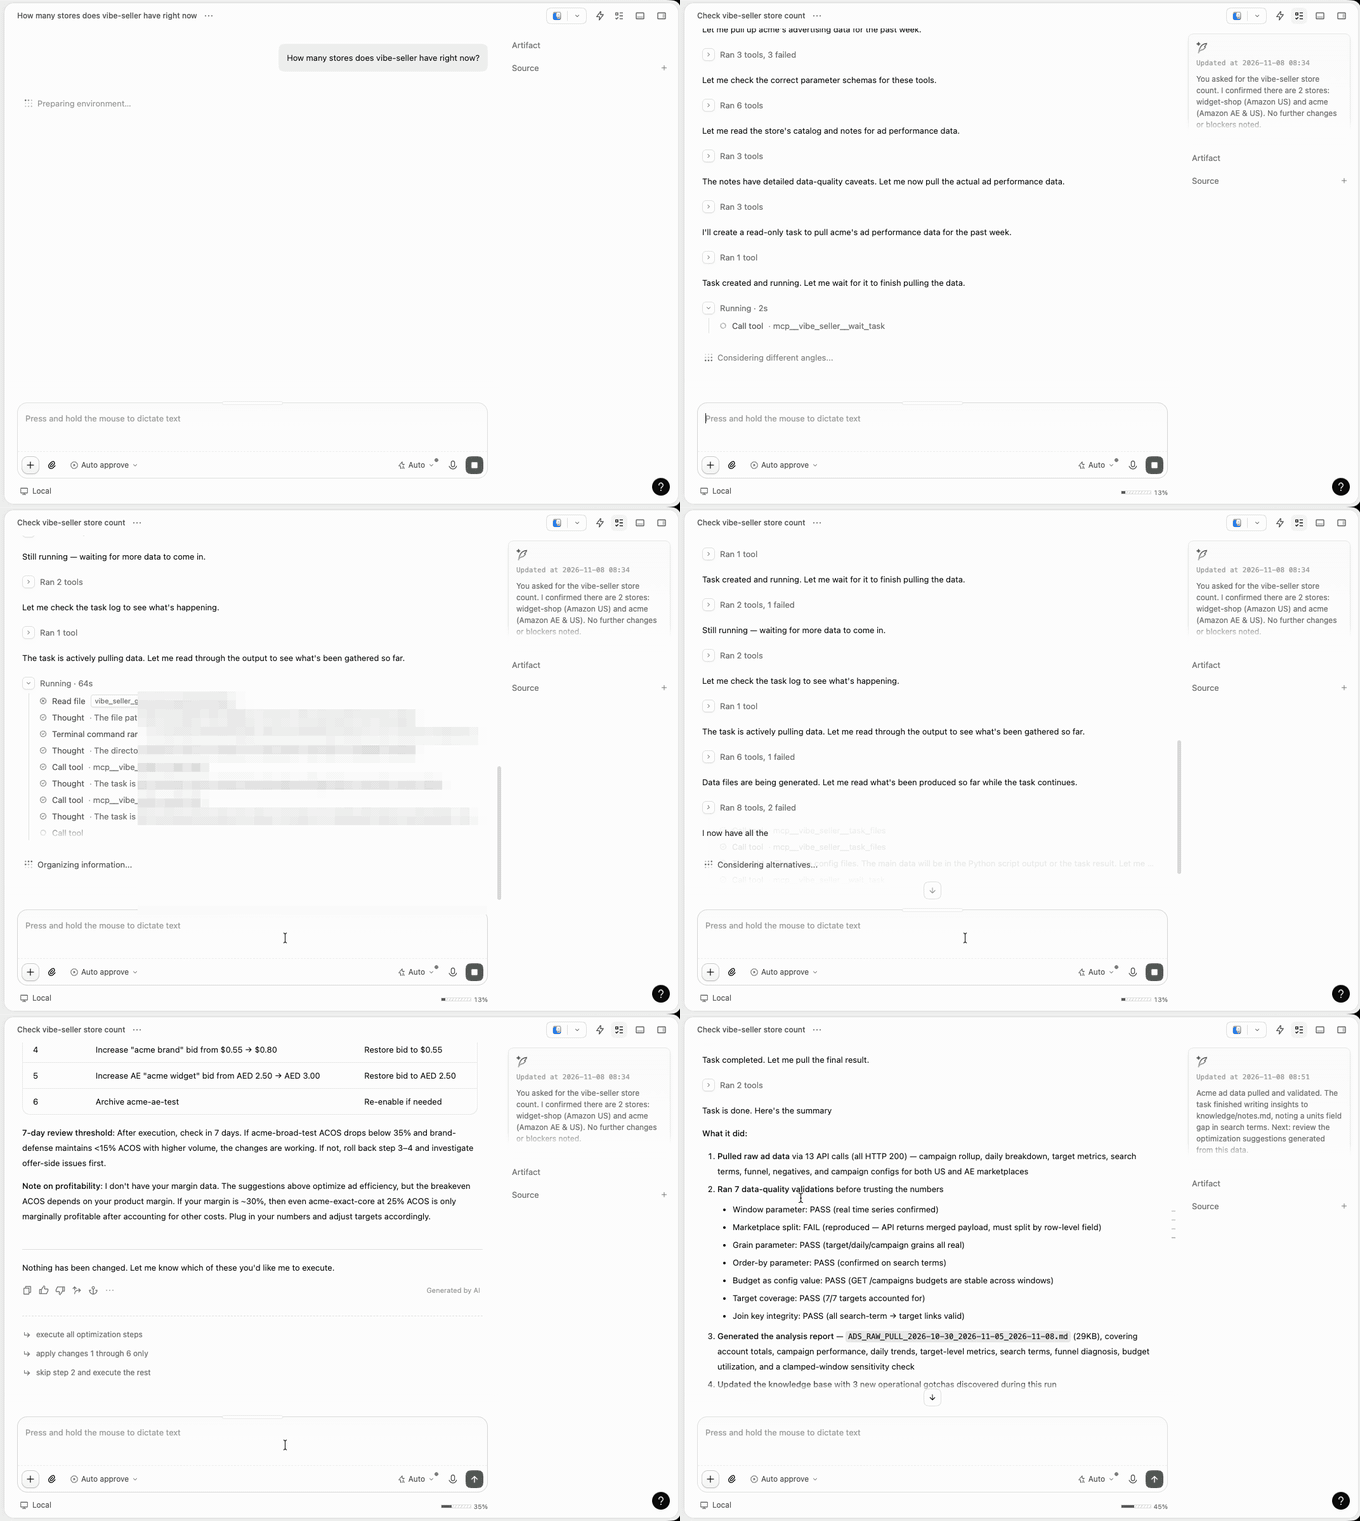
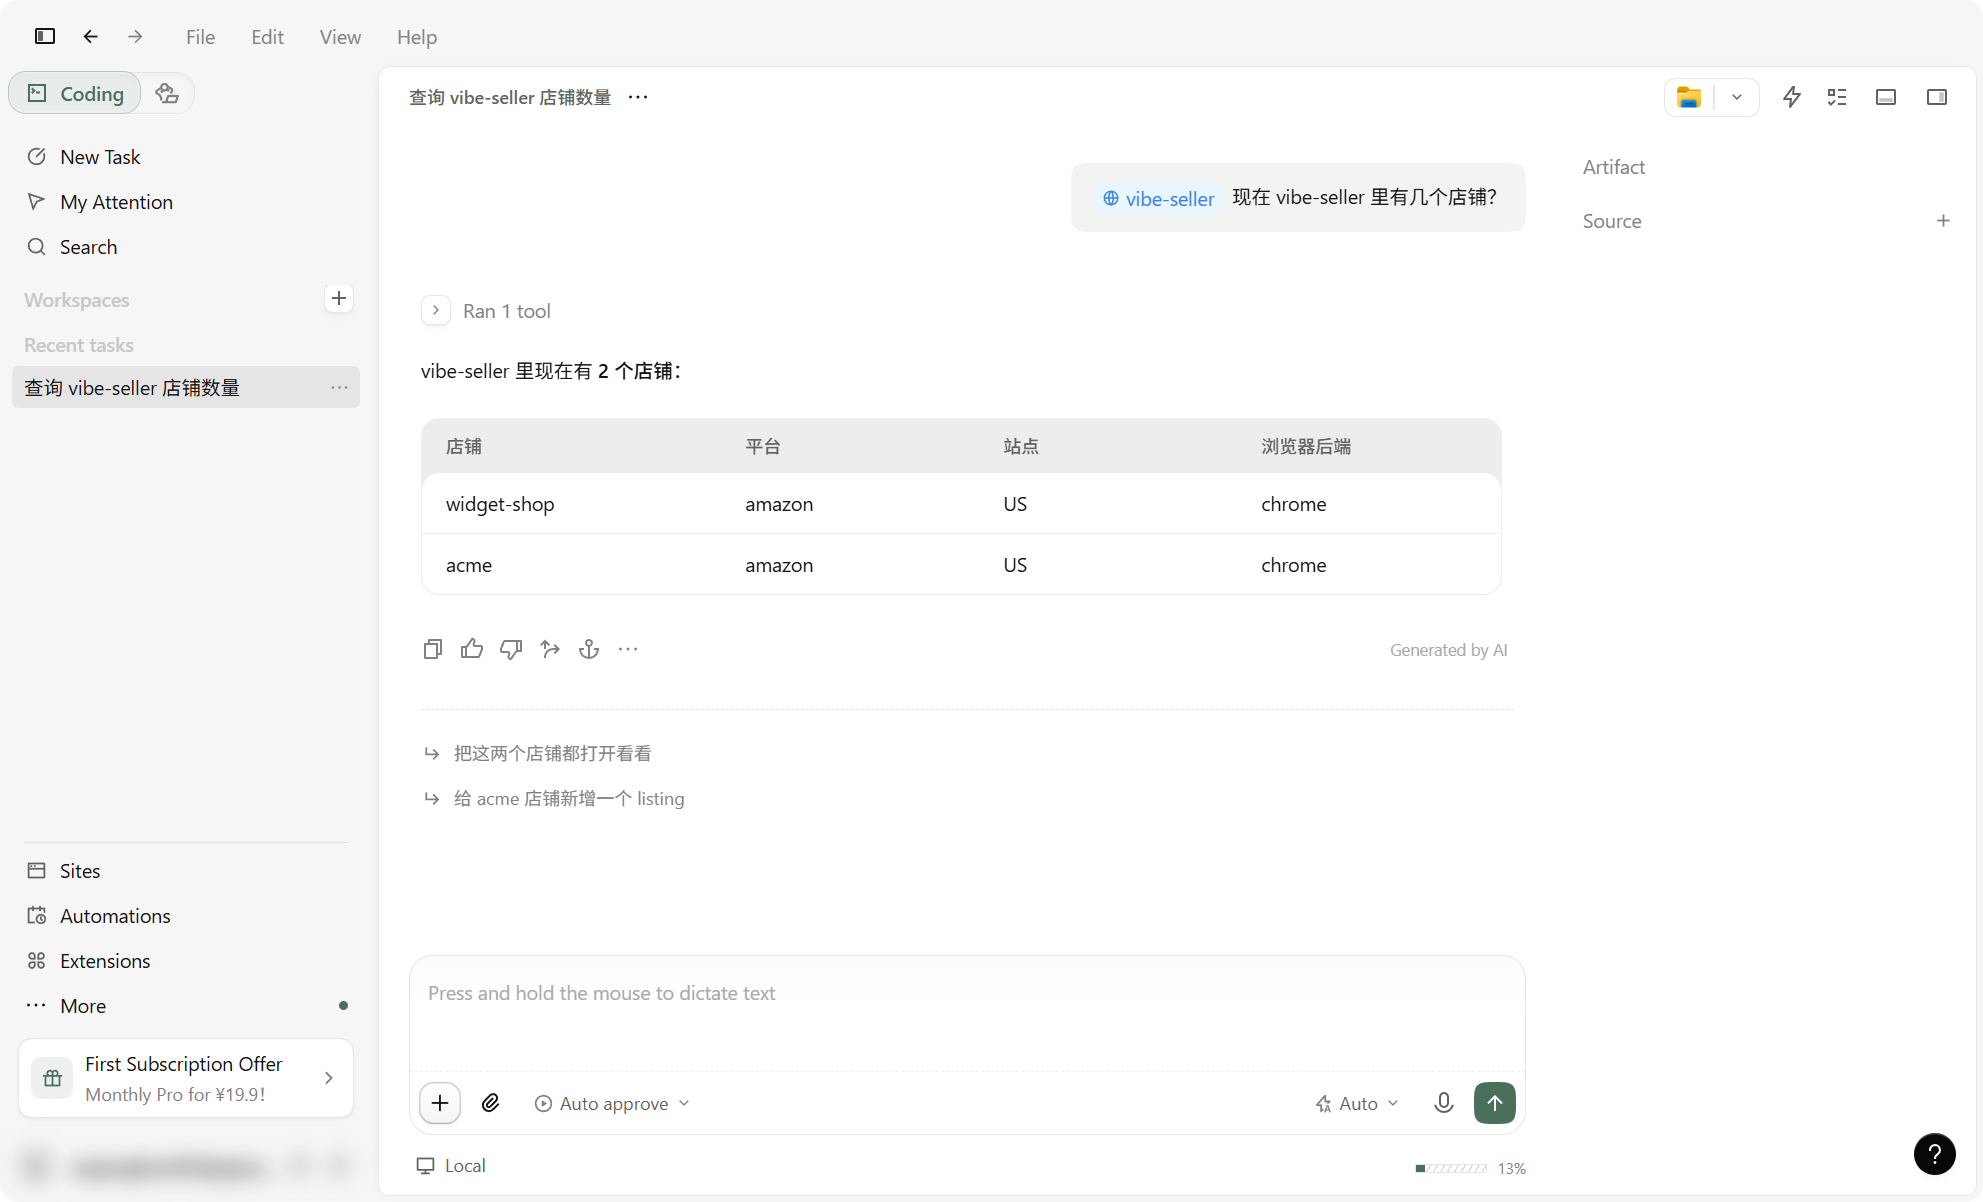
Start a new chat and ask how many stores are in vibe-seller right now?. If it names your stores, you're connected.
Change or remove
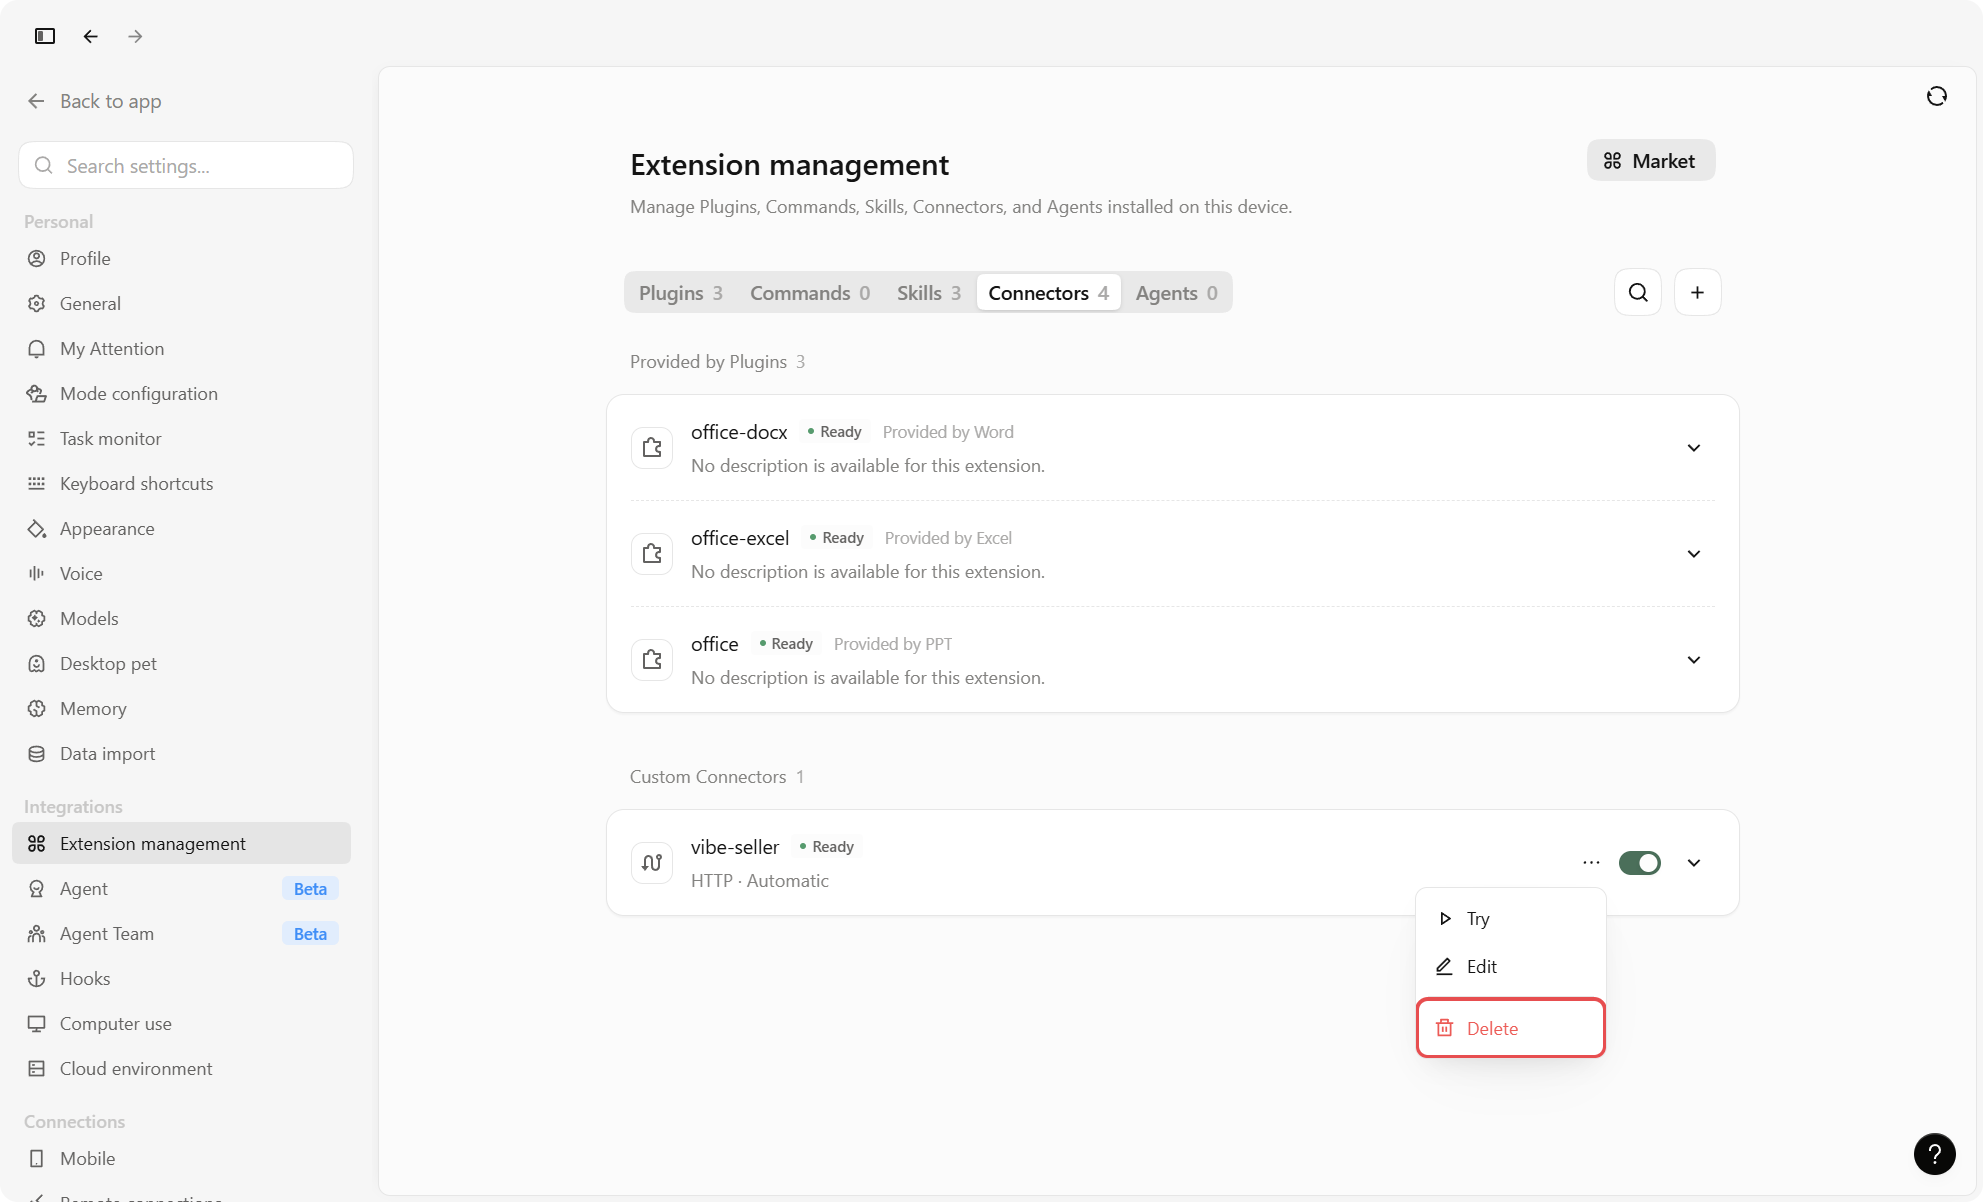
Open Settings → Extension management → Connectors: the "…" menu on the
vibe-seller row has Edit for changing the address or the key, and
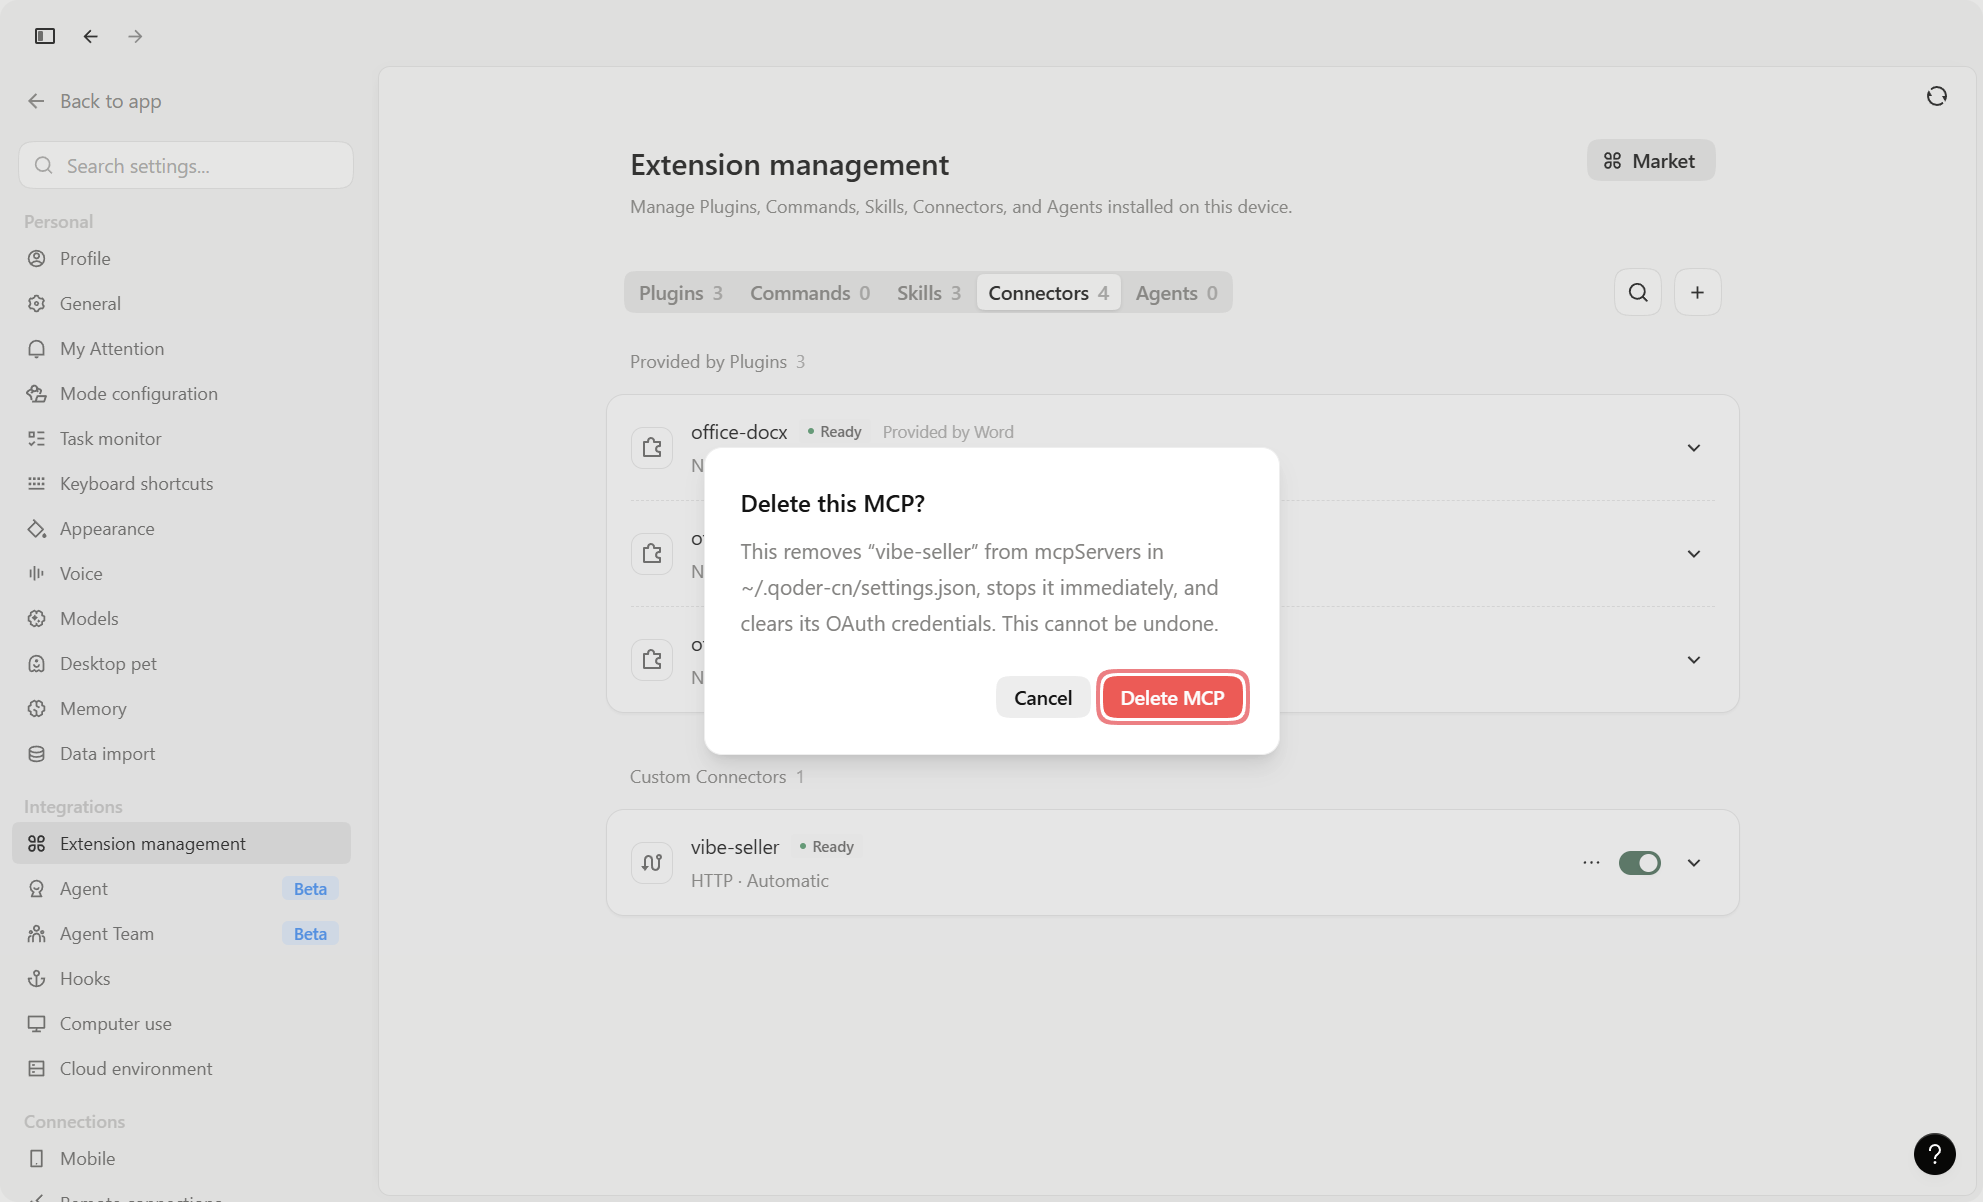
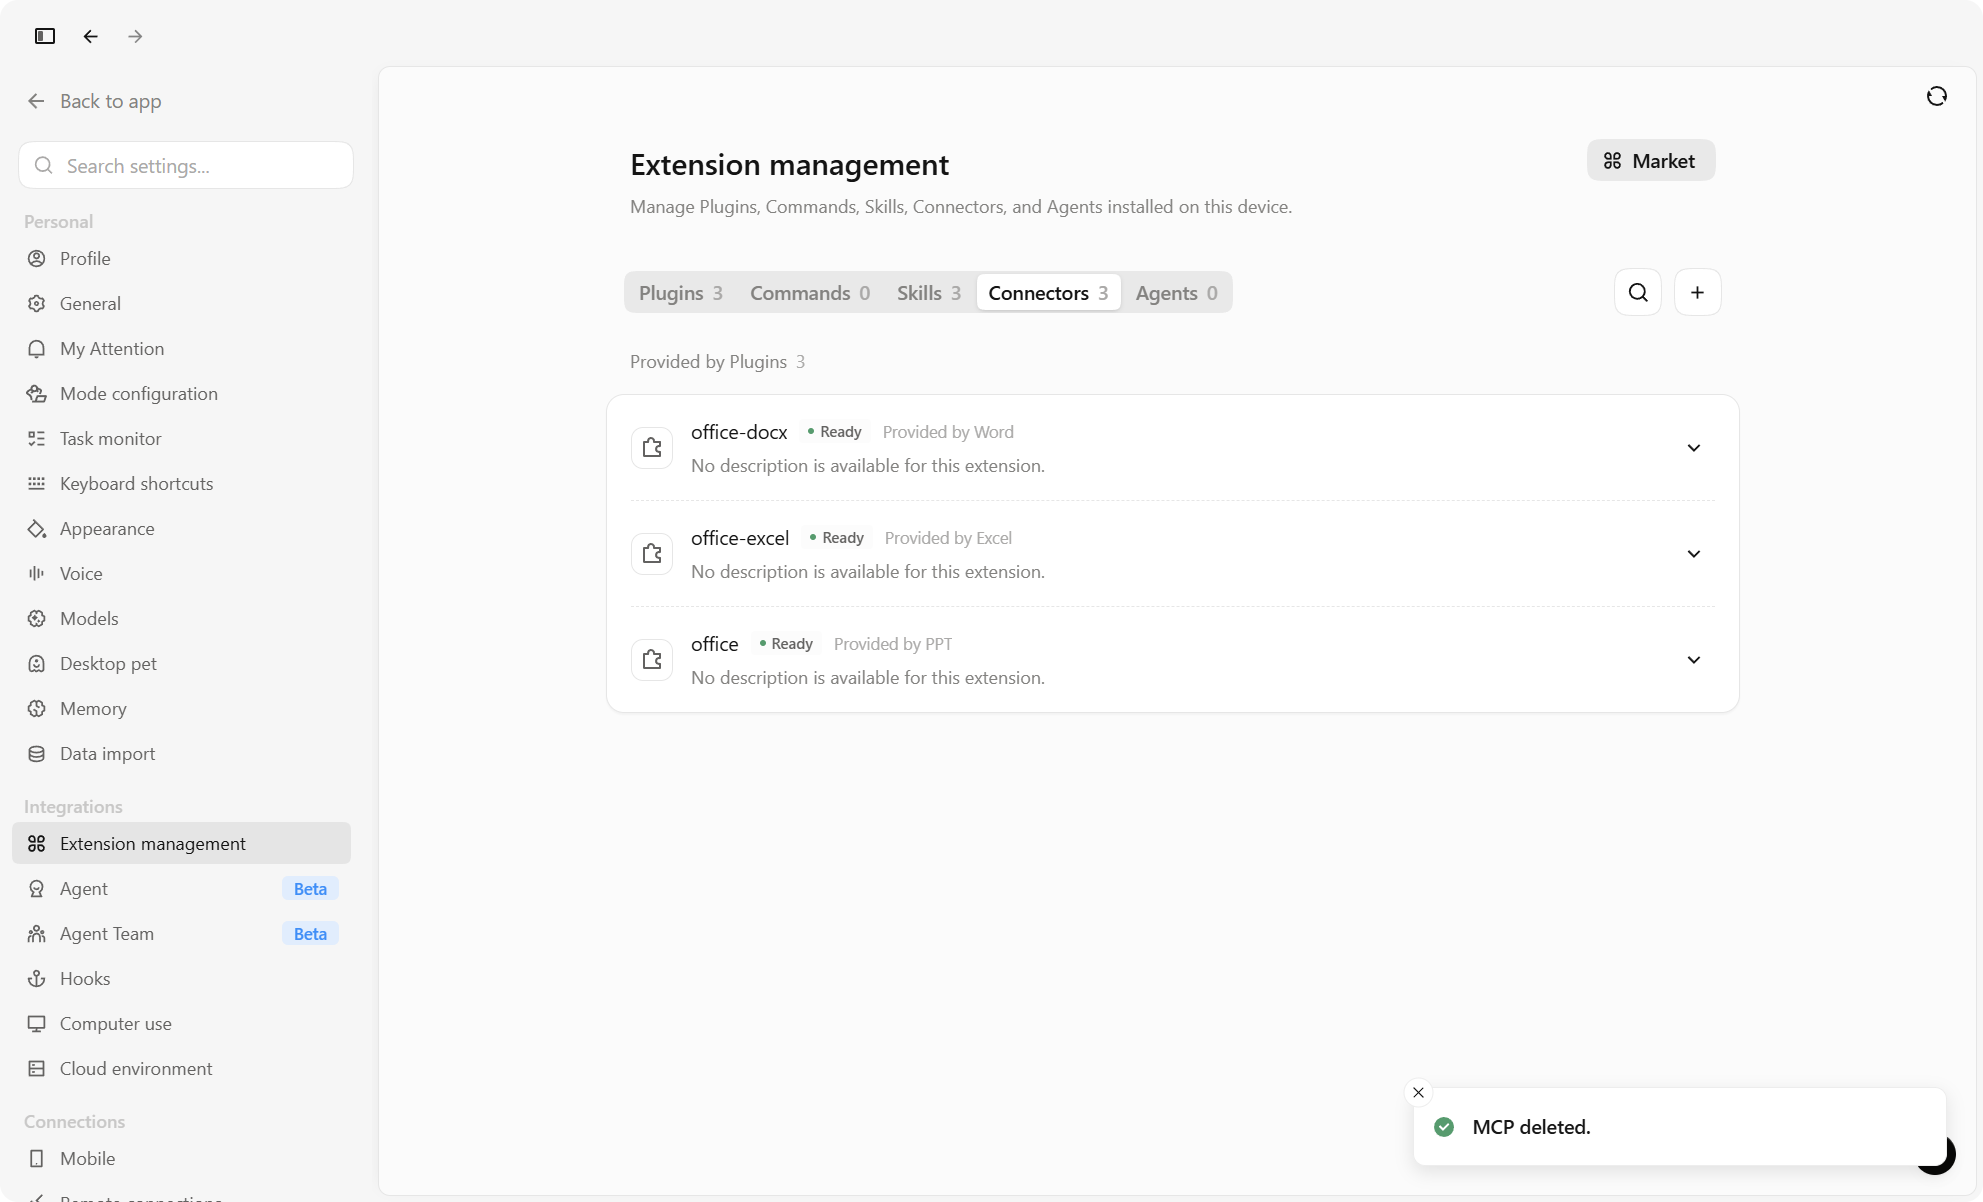
Delete — confirm with Delete MCP to remove it.
Next
See What you can ask for what to say once you're connected, and Examples for full walkthroughs.