Slack
Create the bot in Slack
- Open api.slack.com/apps and Create New App for your workspace.
- In the app settings open Incoming Webhooks and toggle it on.
- Click Add New Webhook to Workspace, pick the channel, and Authorize.
-
Copy the Webhook URL from the settings page:
https://hooks.slack.com/services/T00000000/B00000000/xxxxxxxxxxxx
Official docs: Sending messages using incoming webhooks
Good to know:
- Messages always go to the channel chosen when the webhook was created; it cannot be changed later.
- Posted messages cannot be deleted. The URL is the credential — Slack revokes leaked ones.
- Plain text up to 40,000 characters, markdown (Block Kit) up to 12,000 characters.
- No file sending; beyond the Webhook URL there is no security setting at all (no secret, keyword or IP allowlist).
Add it in Vibe Seller
- Open Vibe Seller, go to Settings → Integrations → Chat bots, and click Add Bot;
- Enter a name (e.g. "Ops alerts") and paste the Webhook URL you just copied — the platform is detected as Slack; the URL alone is the credential, so the form has no security section.
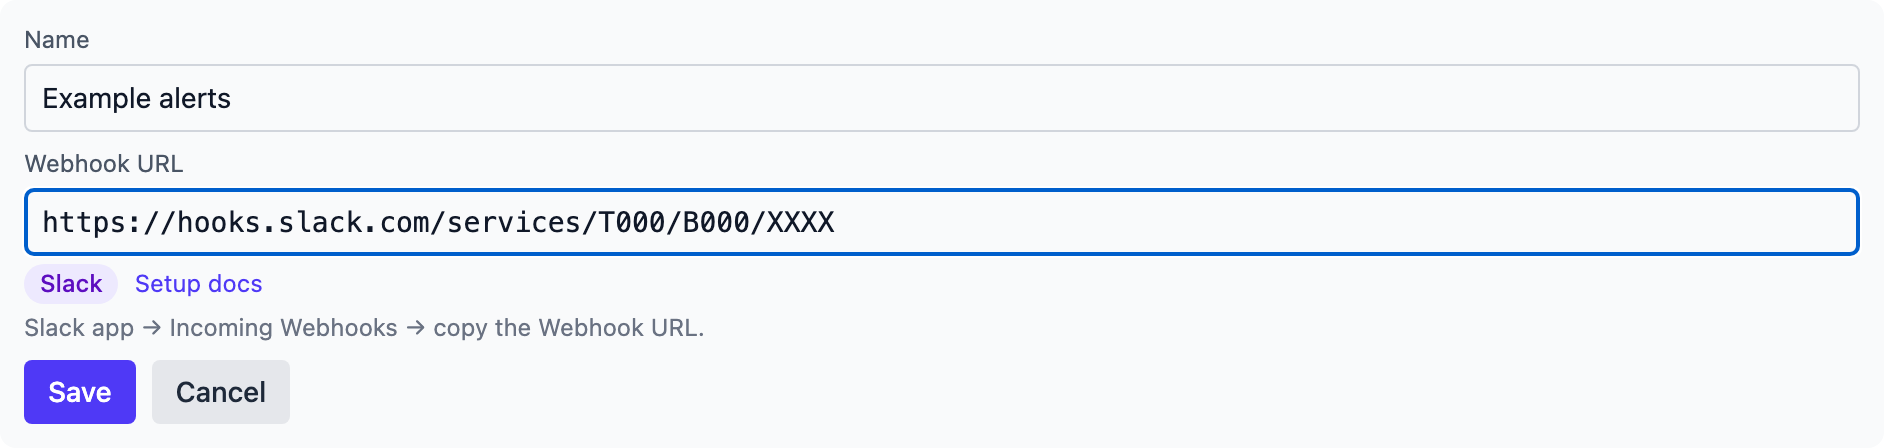
- Click Save — the bot appears in the list;
- Click Test on the bot's row: a green line appears and the channel receives the test message:
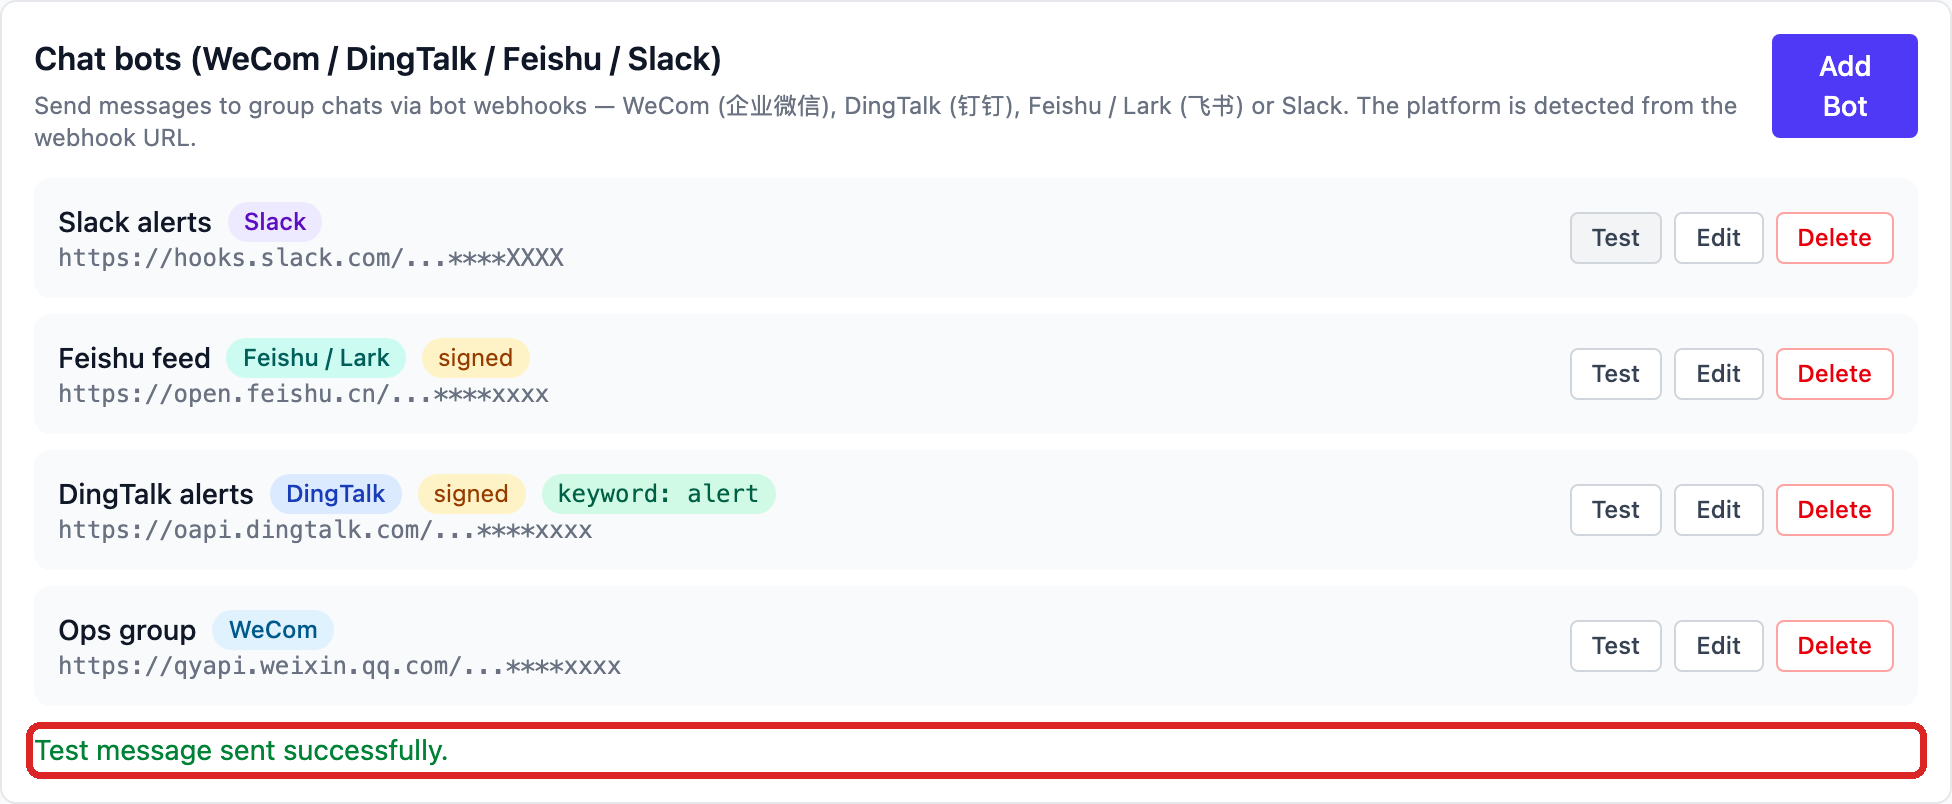
When a test fails, Slack's real error shows under the row — the usual one is a revoked URL; generate a fresh webhook and paste it back. More error meanings are in Chat bots.