WeCom (企业微信)
Create the bot in WeCom
- Open the WeCom desktop client (mobile works too) and enter the group that should receive the messages. Only internal groups support bots — external groups (ones with WeChat contacts) have no add entry at all, and a group set to "managed solely by the group owner" hides the entry from regular members.
- Click ··· (More) → Message Push → Add at the top right and choose "create a new bot" (older clients call it "Add group bot").
-
Name it, click add, then copy the address. It looks like:
https://qyapi.weixin.qq.com/cgi-bin/webhook/send?key=xxxxxxxx -
Optional: "publish to the company" so colleagues can add the same bot to their own groups.
Official docs: How to set up Message Push · Message Push configuration
Good to know:
- Each bot sends at most 20 messages per minute.
- Text up to 2 KB, markdown up to 4 KB (a reduced syntax: headings, bold, links, inline code, quotes, three font colours — no tables).
- Files from 5 bytes up to 20 MB (uploaded first, the material is valid for 3 days).
- If the group has "mute all" enabled, messages are accepted but never shown.
Add it in Vibe Seller
- Open Vibe Seller, go to Settings → Integrations → Chat bots, and click Add Bot;
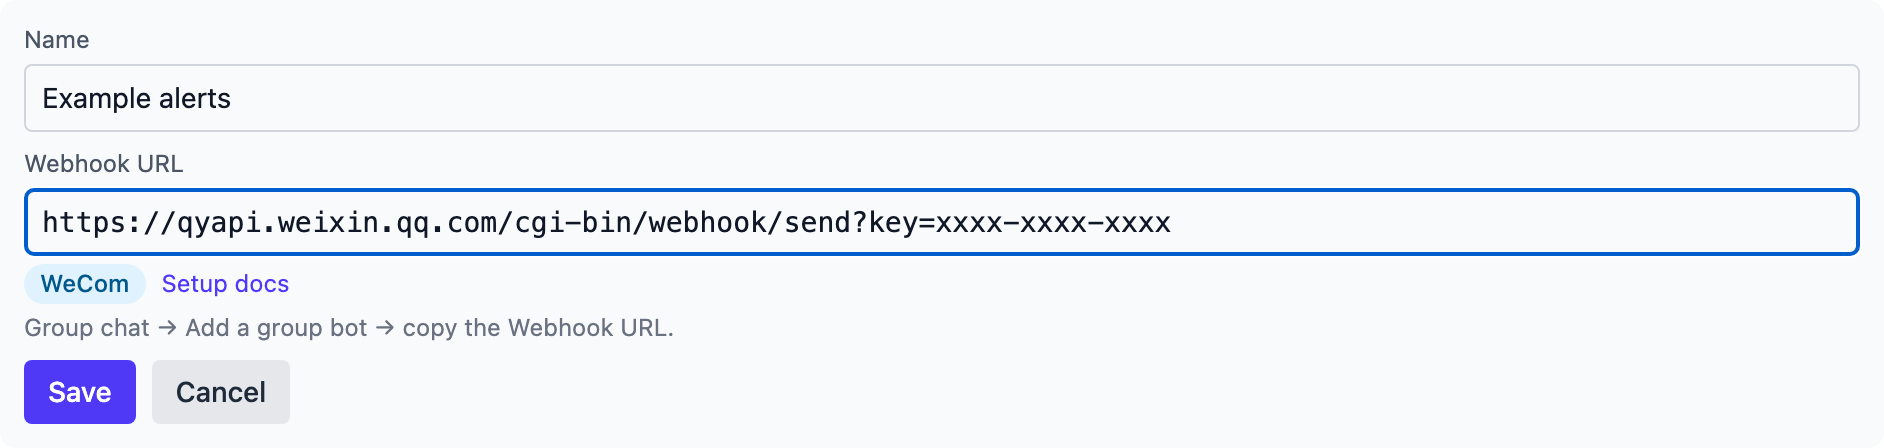
- Enter a name (e.g. "Ops alerts") and paste the Webhook URL you just copied — the platform is detected as WeCom automatically; the URL alone is the credential, so the form has no security section:
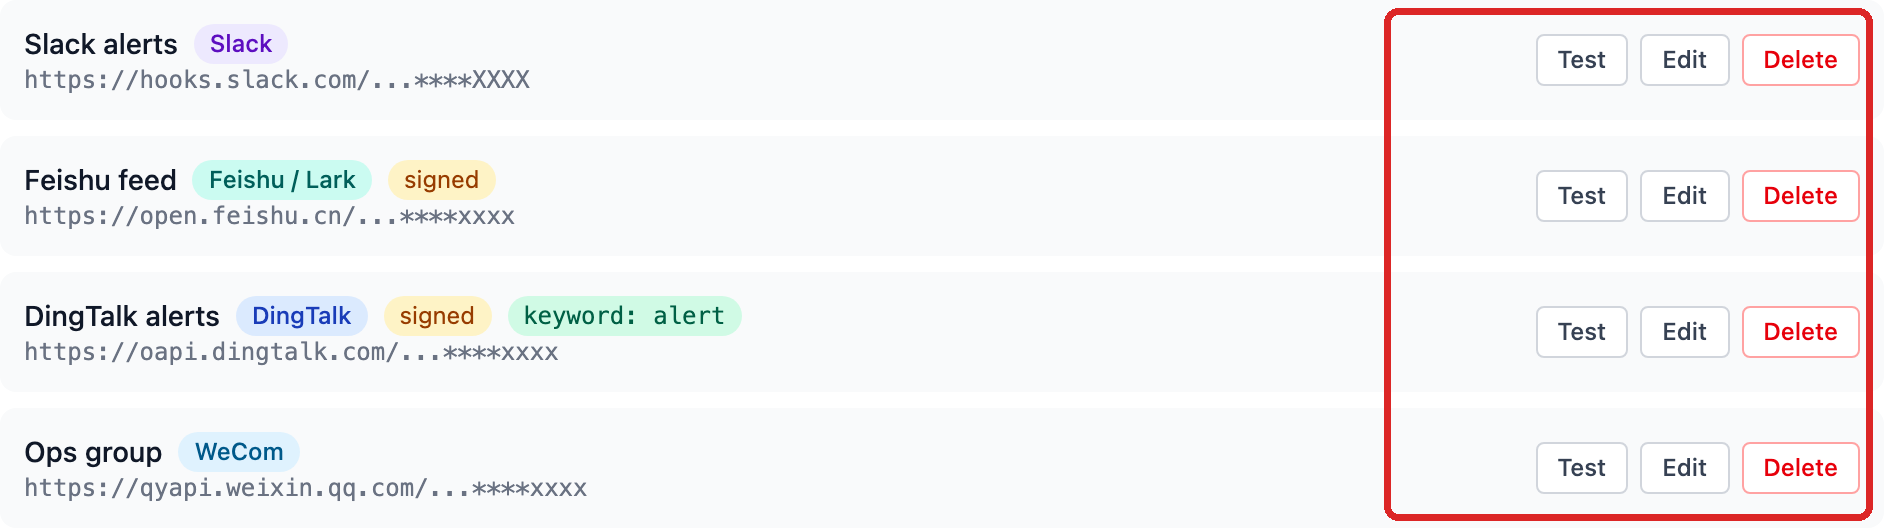
- Click Save — the bot appears in the list, its URL masked:
- Click Test on the bot's row: the group receives
Vibe Seller: chat bot connection test ✅and a green line appears under the row:
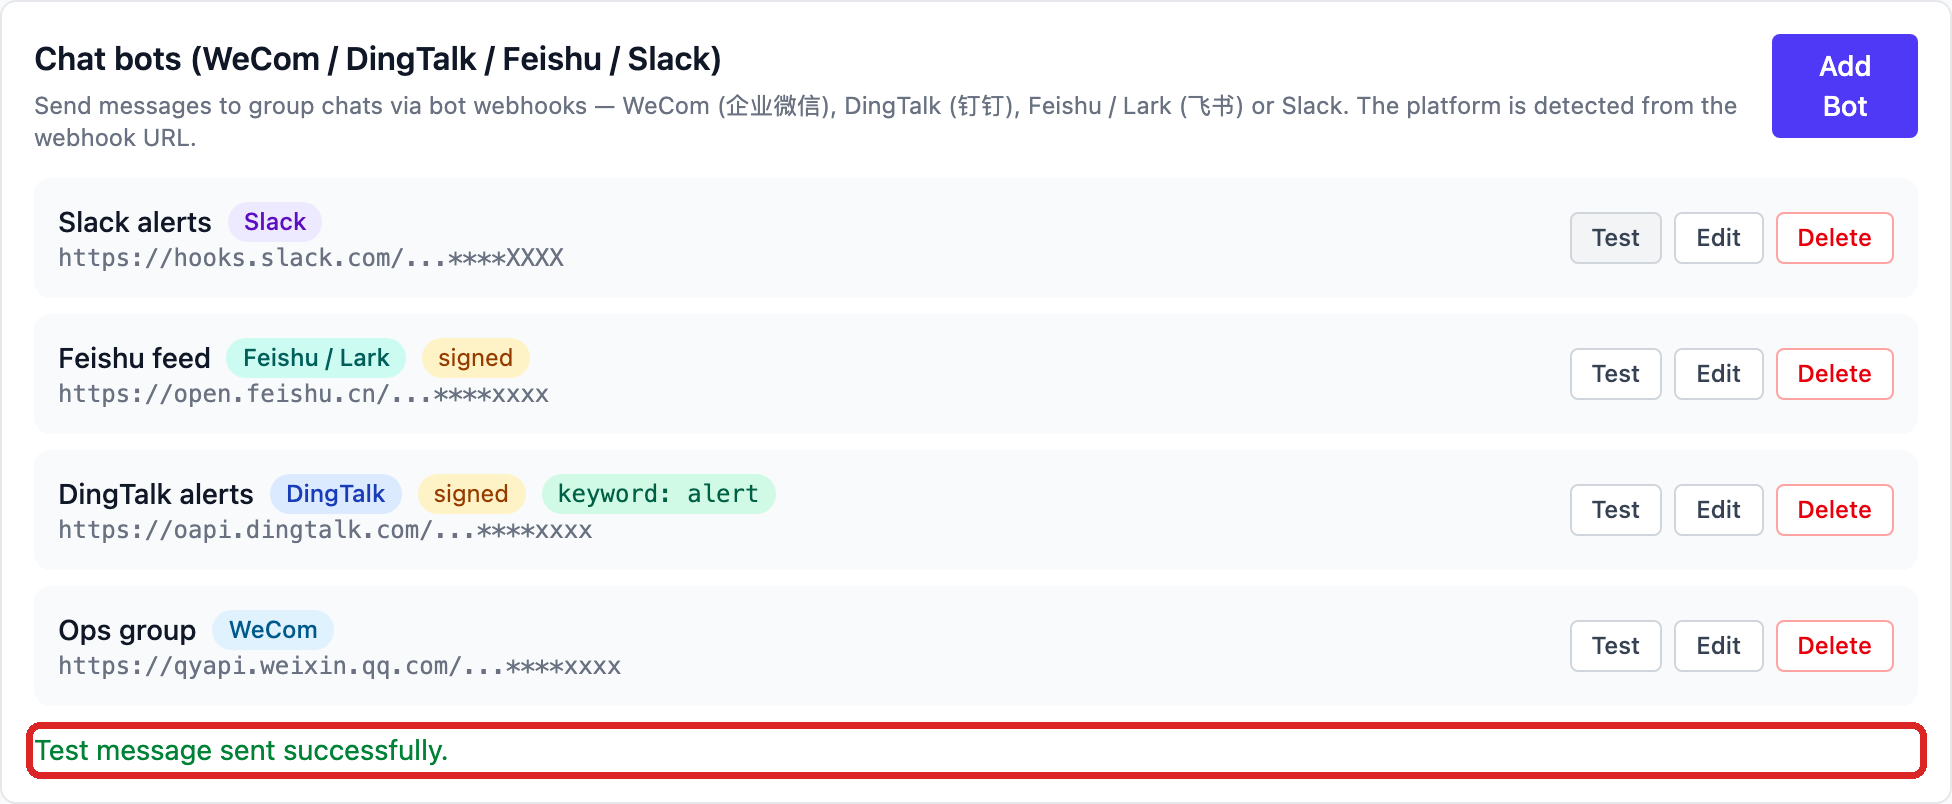
When a test fails, the platform's real error shows under the row — fix it and test again; meanings of common errors are in Chat bots. All four platforms are added the same way from Settings → Integrations; see the Chat bots overview.